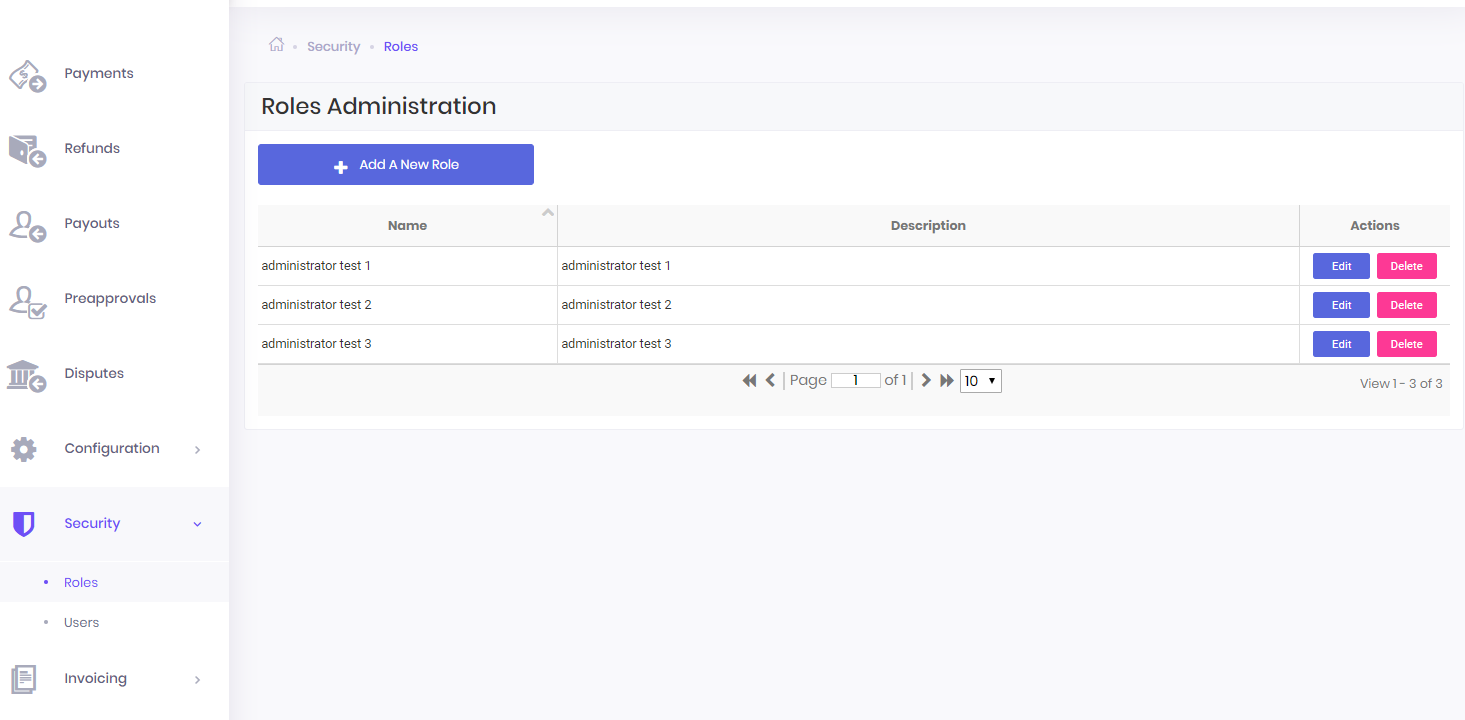
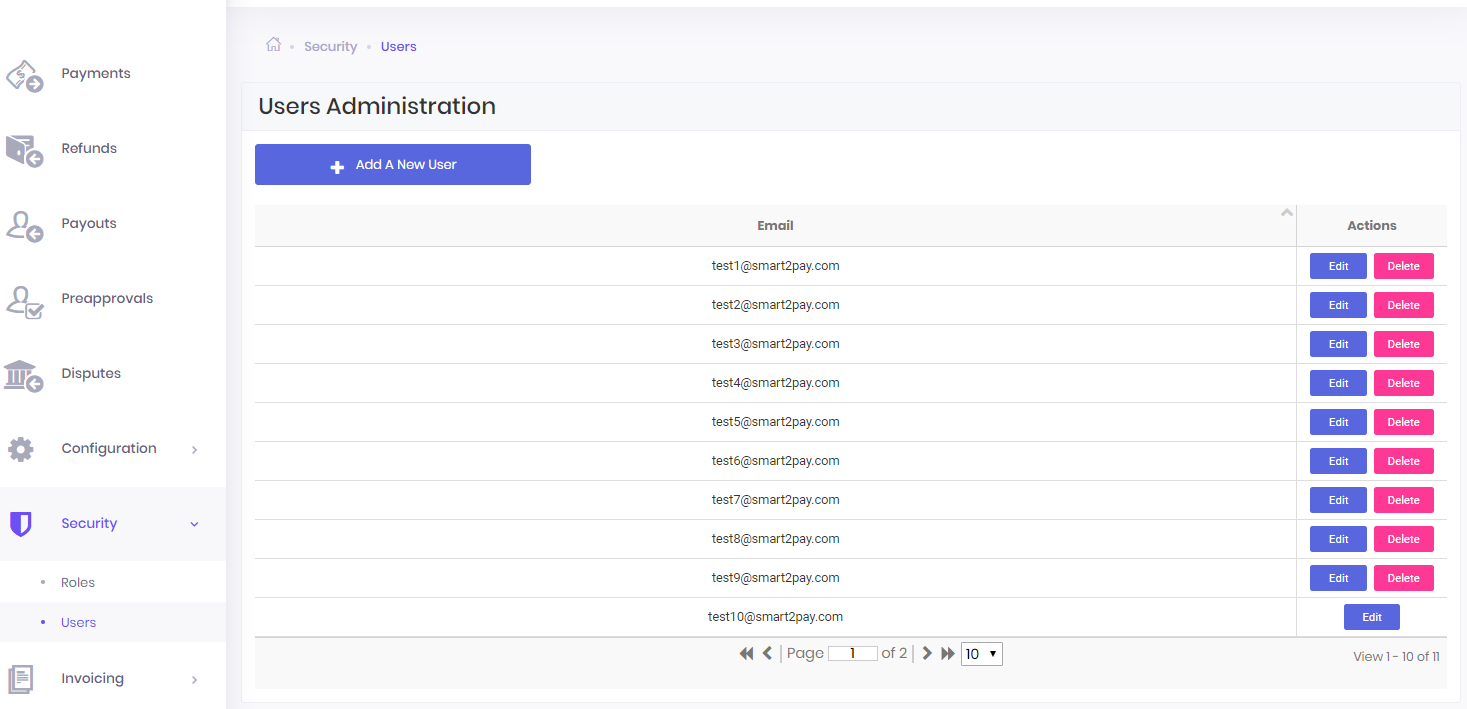
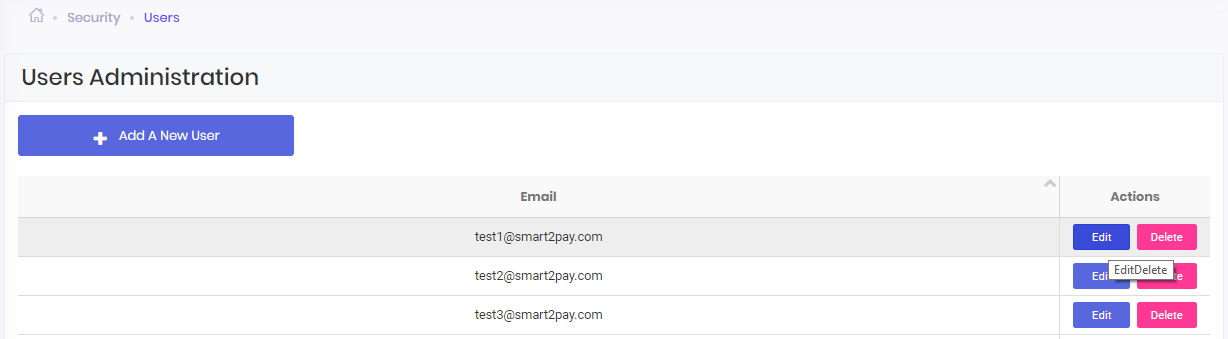
When entering this section you will see in the grid your user and all the users you have created. These are all the users associated with your Merchant ID.
Please note that access to this Users Administration section is only available in production environment!
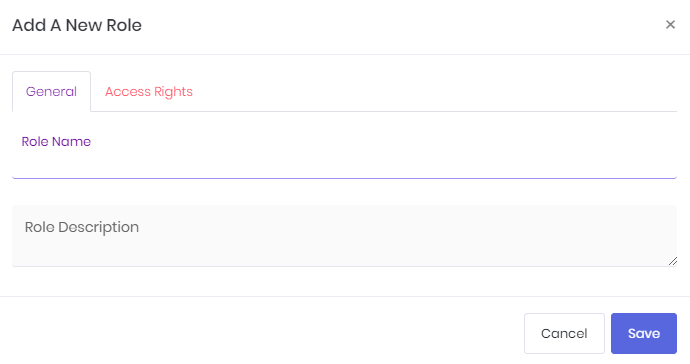
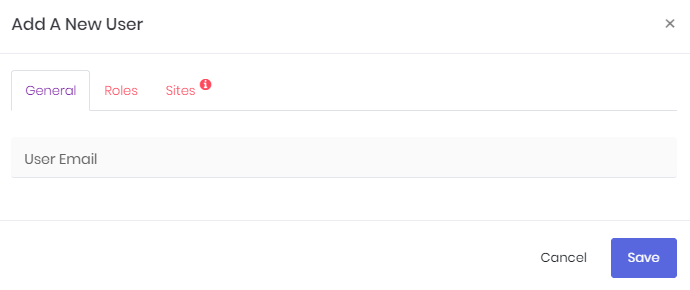
Click on Add a New User button and you can create a new user. In the new form that opens, in the General section, you need to provide a User Name and a User Email.
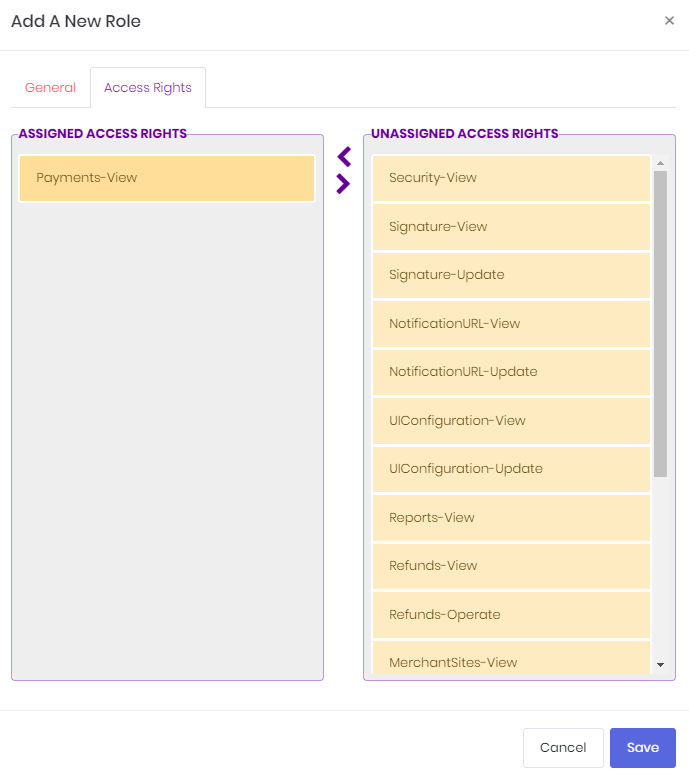
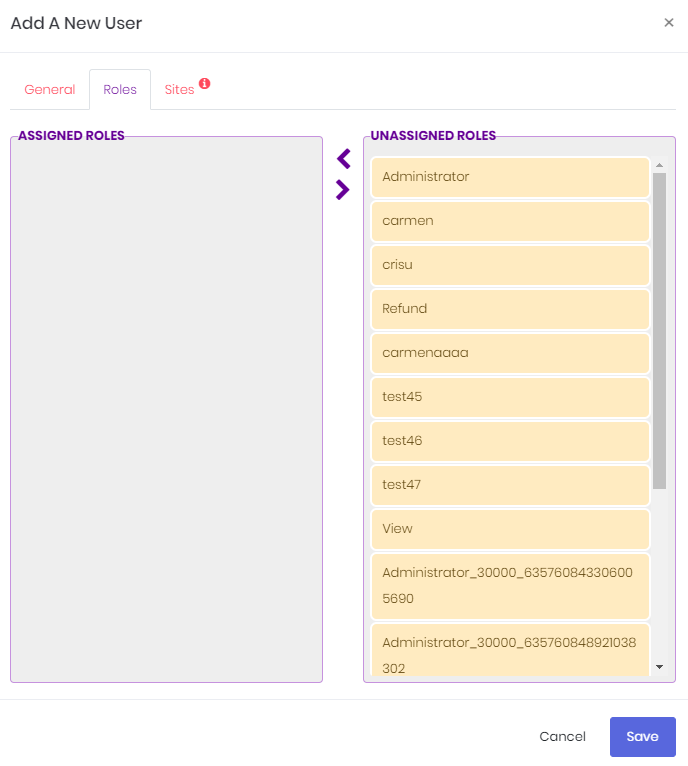
In the Roles section you can assign specific roles for the new user. You can assign to the new user one or more of the roles you have previously created.
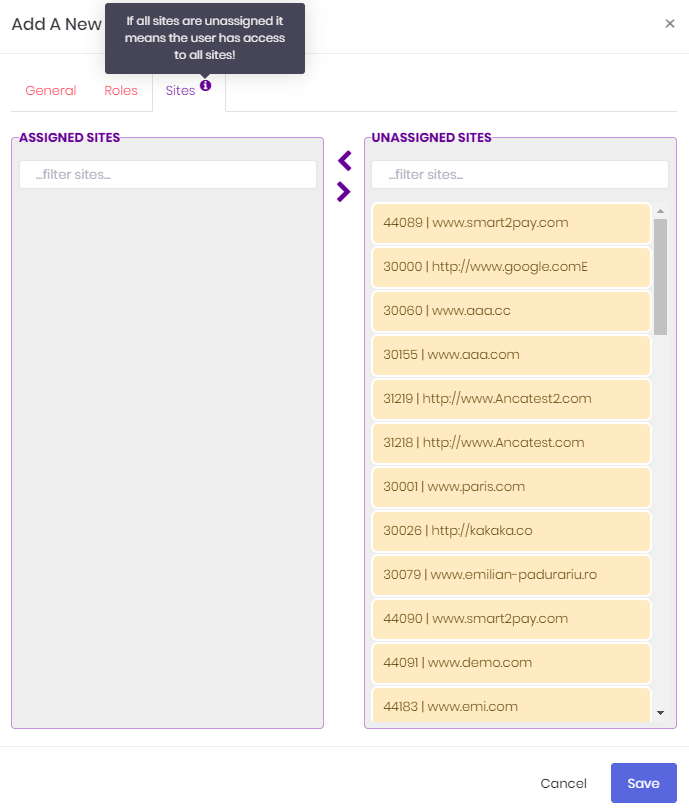
In the Sites section you can assign specific websites to the new user. When finished, click Save and your new user will be created. Click Save and the new user will be saved and he will receive an email with the password. The User you have just created is visible in the grid. You can create as many users as you like.
Please note that a new user can also be created via API by submitting a POST HTTP request.
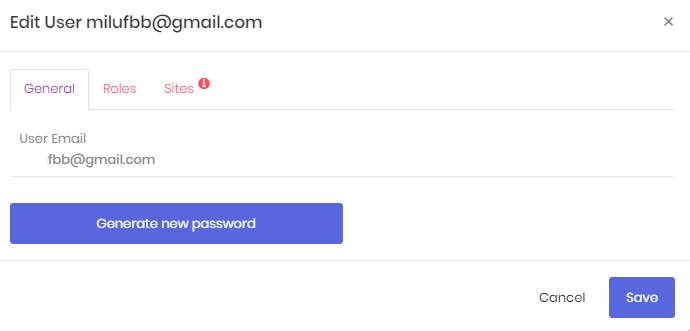
If you want to change user name or user email, remove or add roles or update the websites assign to an already created user, you need to click on the Edit button in the grid.
And, of course, you can delete the user accounts that do not serve you anymore using the Delete button from the grid.
In the Edit section you can also generate a new password for that specific user. When clicking Generate new password an email will be sent to that user with the new password.
Please be aware that if you assign a user a certain role (that contains specific access rights), that user will only have access to that restricted area defined by that role (and implicitly by the access rights).
Example:
You provide User1 with Role1 that includes NotificationURL-Update access right and Signature-Update access right. This means that User1 will only see two tabs when entering the dashboard: Account and Configuration. And he will have the right to generate a new signature and modify the Notification URL.
An update access right implicitly contains the view access right.
Example:
If the user has only one role that only contains the access right Signature-Update, that user will be able to see the Signature section and update the signature.
If the user has only one role that contains only Signature-view, that user will be able to access the Signature section, but won’t be able to update the signature.