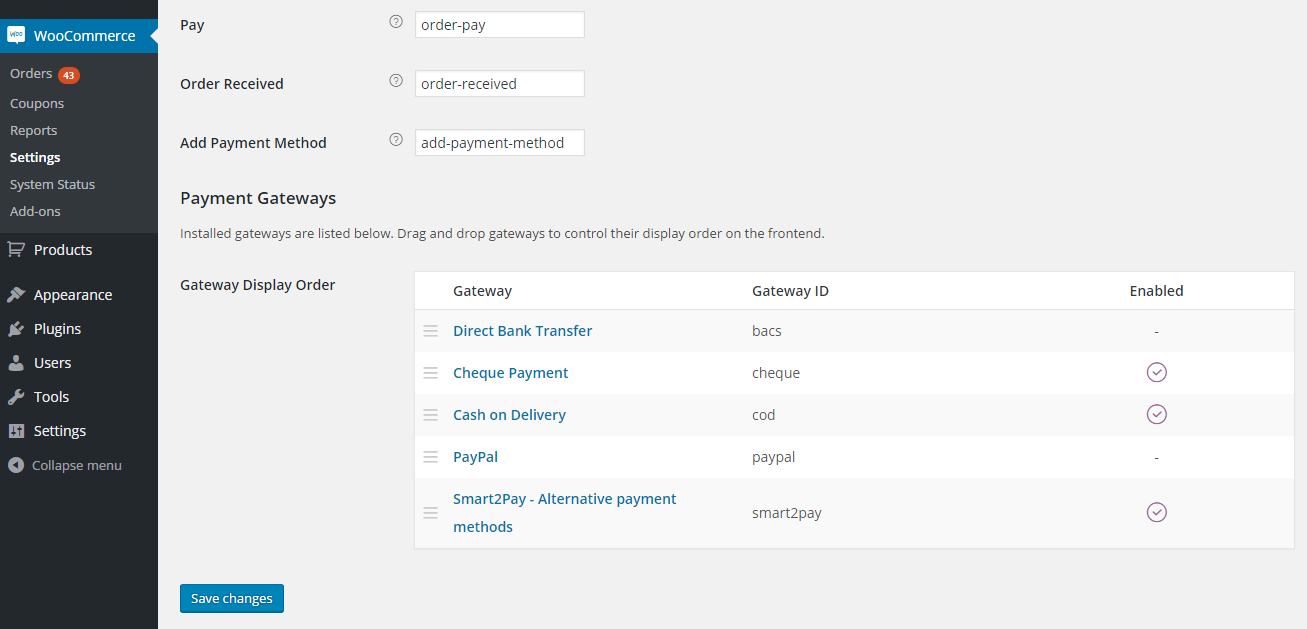
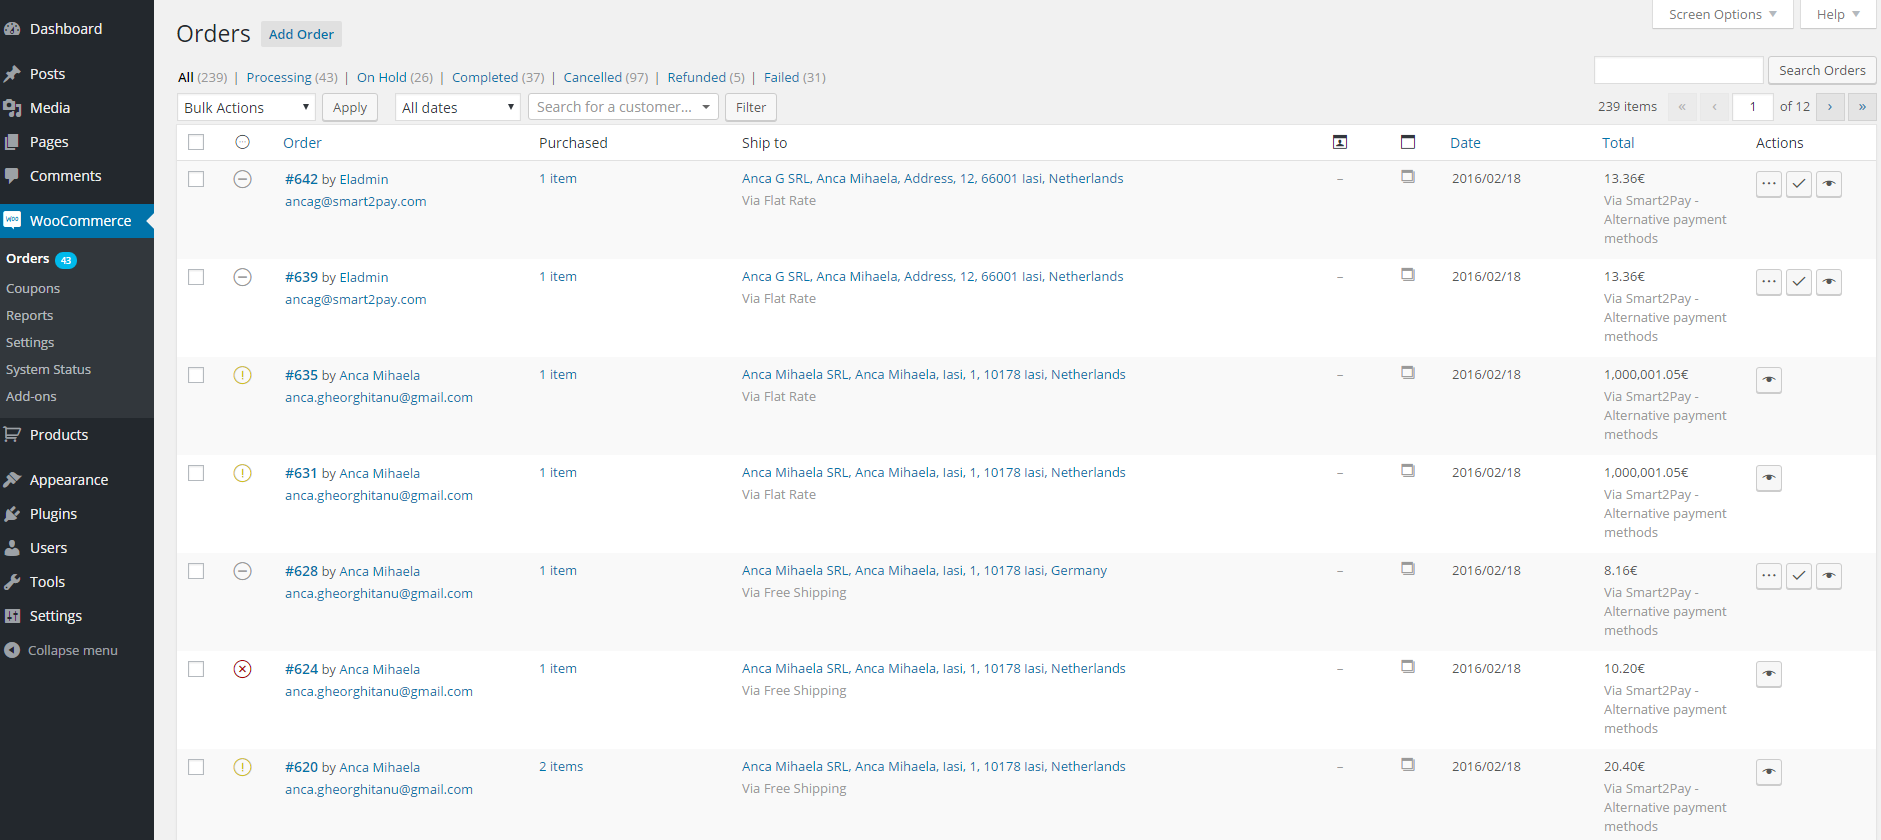
The configurations for the Nuvei WooCommerce plugin can be found in the WordPress dashboard under WooCommerce area: Settings -> Checkout -> Nuvei.
Smart2Pay plugin contains the generic configurations that are necessary to connect your store with the payment platform. You will also need to install and activate the payment methods that you intend to use: e.g. Nuvei Paysafecard, Nuvei UKash, Nuvei iDEAL etc.
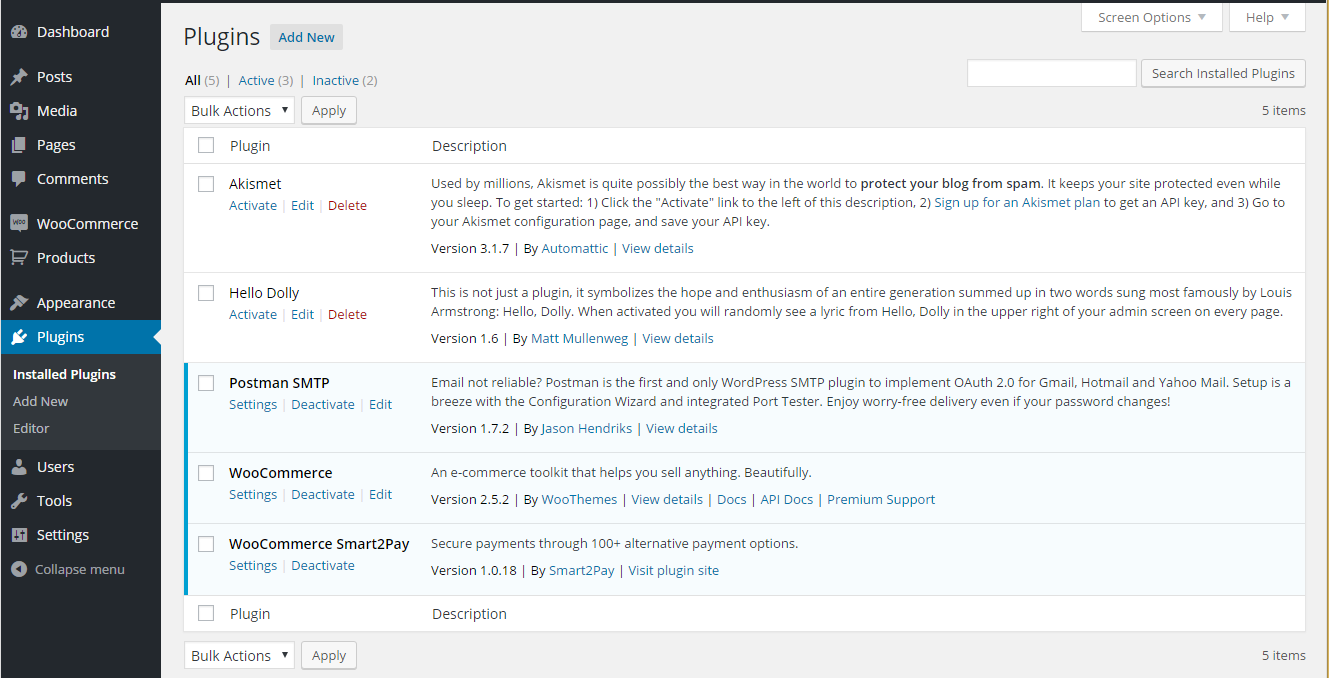
If the Nuvei payment module is not visible, please make sure that Nuvei module is activated from Plugins -> Installed Plugins -> WooCommerce Nuvei -> Activate.
Checkout below the available options of configuration for the Nuvei WooCommerce plugin:
Nuvei Payment Module Configuration
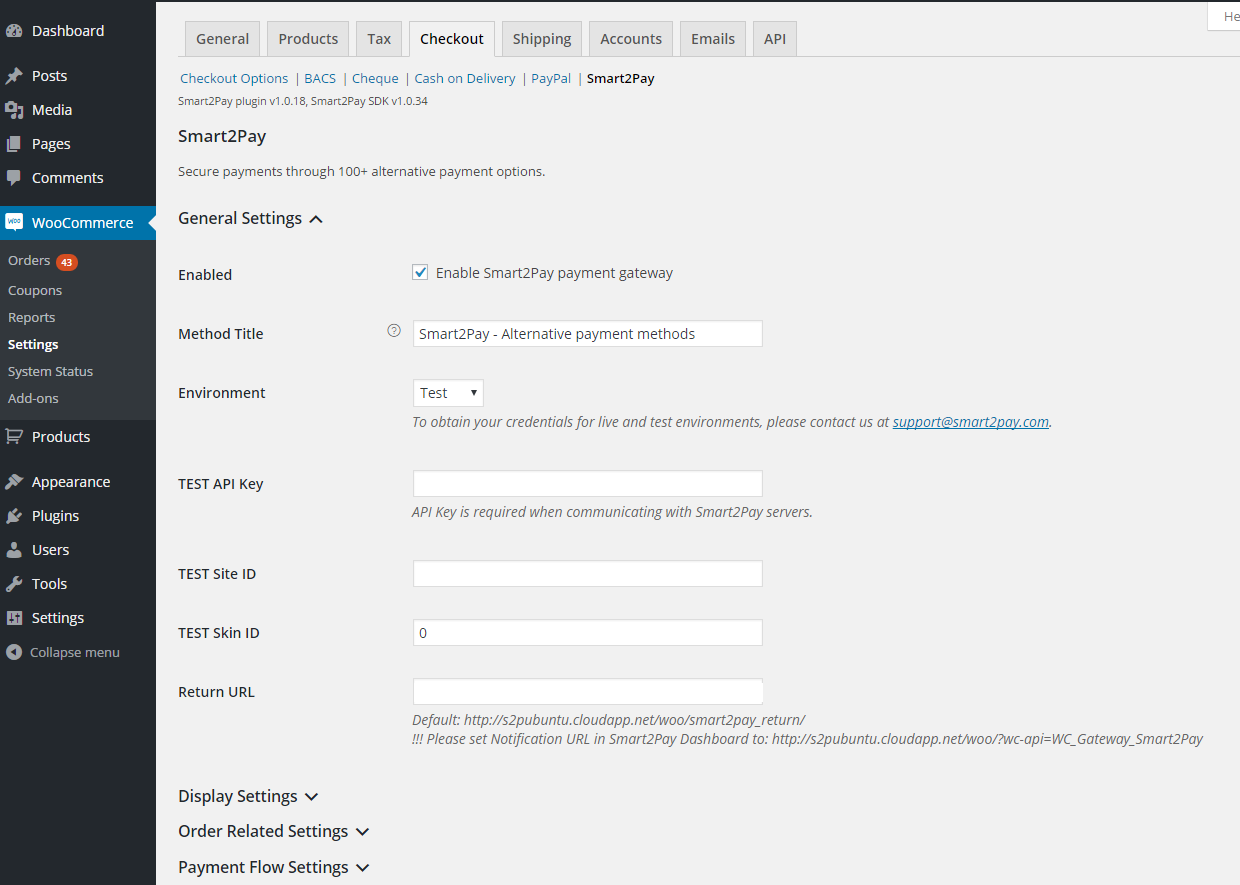
| Nuvei – General Settings |
| Field |
Description |
Type |
Sample |
| Enabled |
Defines whether the Nuvei payment module is active or not. If it is active it will appear in the payment method lists. |
Boolean |
Enable Nuvei payment gateway |
| Method Title |
This will be displayed to the customers in the checkout process when selecting from possible payment methods |
String |
Nuvei – Alternative payment methods |
| Environment |
The environment to which the plugin points to. If Demo is selected you don’t have to provide API Key, Site ID or Skin ID. If Test is selected then the TEST API Key, TEST Site ID and TEST Skin ID will be used when making the payment. |
[Demo, Test, Live] |
Test |
| TEST API Key |
The API Key used to authenticate the requests for the test environment. To obtain your credentials for test environment, please contact us at technicalsupport-s2p@nuvei.com. |
String |
OjGm0QudKqUZqqfct3WN+hW+gUkgOixxxxxxxxx |
| LIVE API Key |
The API Key used to authenticate the requests for the live environment. To obtain your credentials for live environment, please contact us at technicalsupport-s2p@nuvei.com. |
String |
|
| TEST SiteID |
The ID of the test website, a unique number that identifies the website. If you are handling multiple WooCommerce websites and want to use a single MerchantID for all of them, you need to configure multiple websites from GlobalPay Merchant Dashboard, configuration tab. |
Integer |
305xx |
| LIVE Site ID |
The ID of the live website, a unique number that identifies the website. If you are handling multiple WooCommerce websites and want to use a single MerchantID for all of them, you need to configure multiple websites from GlobalPay Merchant Dashboard, Configuration tab. |
Integer |
0 |
| TEST Skin ID |
Specify the skin ID for the test environment. The skins can be created in the Online Skin Editor available in the GlobalPay Merchant Dashboard or by uploading a CSS file. |
Integer |
0 |
| LIVE Skin ID |
Specify the skin ID for the live environment. The skins can be created in the Online Skin Editor available in the GlobalPay Merchant Dashboard or by uploading a CSS file. |
Integer |
0 |
| Return URL |
An URL where the customer will be redirected after the payment process ends. Please set Notification URL in Nuvei Dashboard to: http://s2pubuntu.cloudapp.net/woo/?wc-api=WC_Gateway_Smart2Pay. |
String |
http://s2pubuntu.cloudapp.net/woo/smart2pay_return/ |
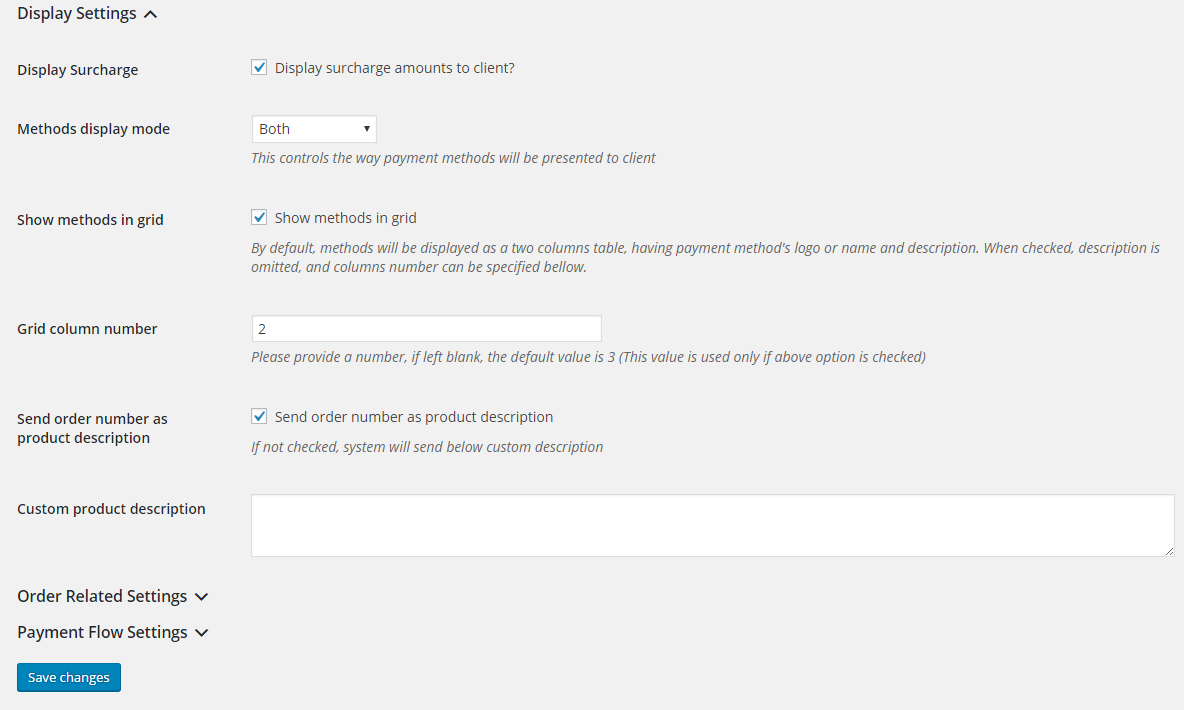
| Nuvei – Display Settings |
| Field |
Description |
Type |
Sample |
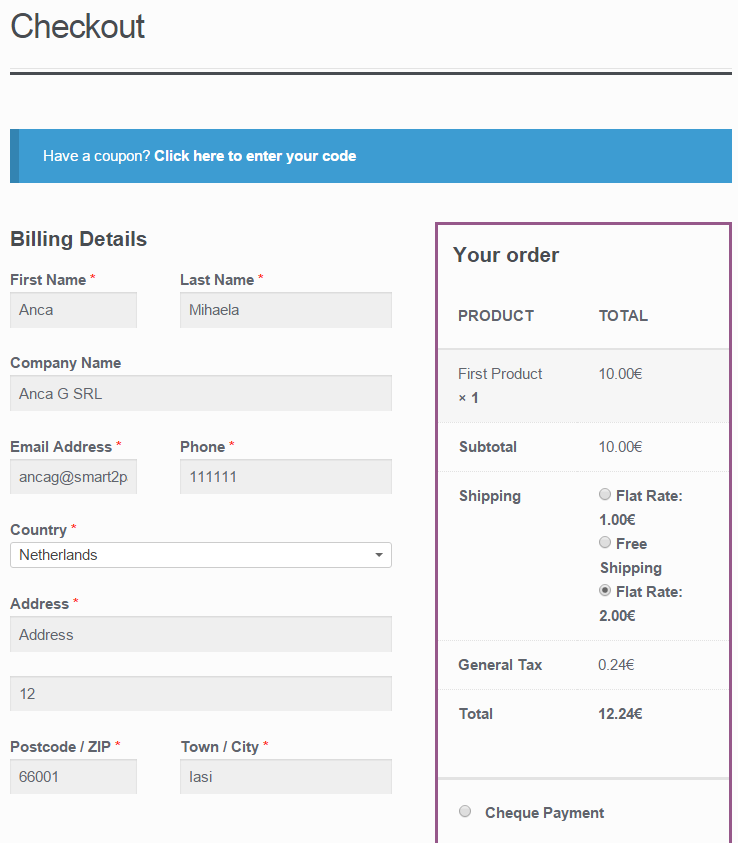
| Display Surcharge |
The display of the surcharge amount in the checkout flow as separated percent and fixed amount. |
Boolean |
Display surcharge amounts to client? |
| Methods display mode |
By default, method icon images and text will be shown (Both). You have the option to display the payment methods as only logo, method name or both. |
List |
Both |
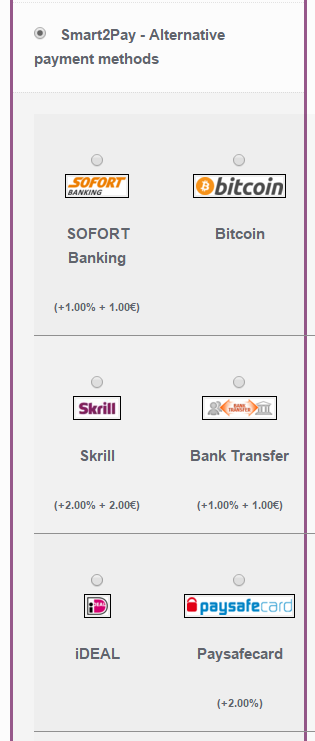
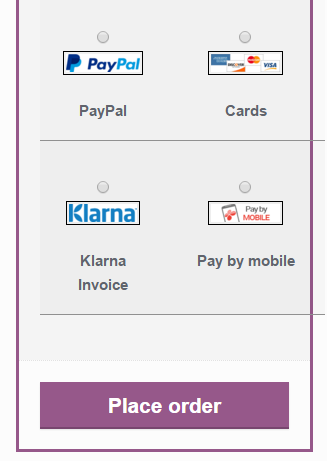
| Show methods in grid |
By default, methods will be displayed as a two columns table, having payment method’s logo or name and description. When checked, description is omitted, and columns number can be specified bellow. |
Boolean |
Show methods in grid |
| Grid column number |
The number of columns for the grid with logos. Has effect only if Show methods in grid is marked. If left blank, the default value is 3 (This value is used only if above option is checked). |
Integer |
2 |
| Send order number as product description |
If checked, the WooCommerce order number will be sent as description. If not checked, system will send below custom description. |
Boolean |
Send order number as product description |
| Custom product description |
Specifies a global description that will be sent for all the transactions. |
String |
|
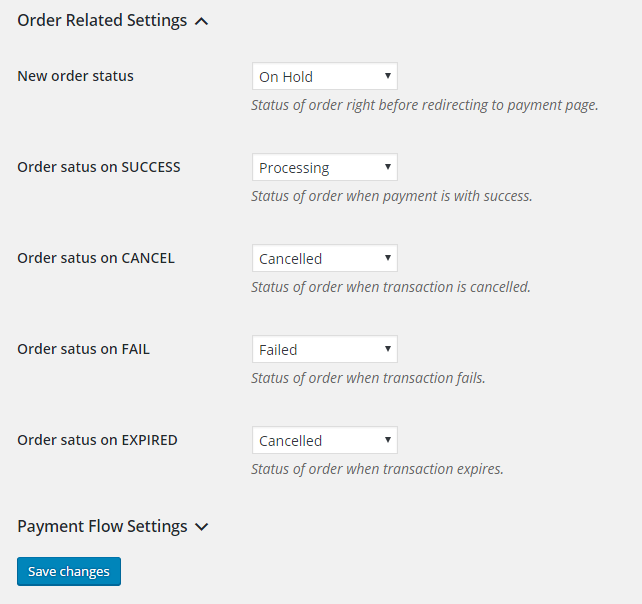
| Nuvei – Order Related Settings |
| Field |
Description |
Type |
Sample |
| New order status |
Status of the order right before redirecting to payment page. |
List |
On Hold |
| Order status when NEW |
The status of the order when a new order is created. |
List |
Pending |
| Order status when SUCCESS |
You should only deliver the goods/services based on the success notifications. The notifications are received at the notification URL which you set up in the GlobalPay merchant dashboard available at: https://dashboardtest.smart2pay.com. The notification URL is in the form: http://www.merchant.com/index.php?route=payment/smart2pay/callback. WooCommerce Nuvei GlobalPay Plugin automatically updates the order status according to the received notifications.
This configuration defines the status of the order when the payment has been successfully completed and a ‘success’ notification is sent by GlobalPay system. You can release the goods/services in this case. |
List |
Processing |
| Order status when CANCEL |
The status of the order when a ‘canceled’ notification is received from Smart2Pay’s GlobalPay system. |
List |
Canceled |
| Order status when FAIL |
The status of the order when a ‘failed’ notification is received from Smart2Pay’s GlobalPay system. |
List |
Failed |
| Order status on EXPIRED |
The status of the order when an ‘expired’ notification is received from Smart2Pay’s GlobalPay system. |
List |
Cancelled |
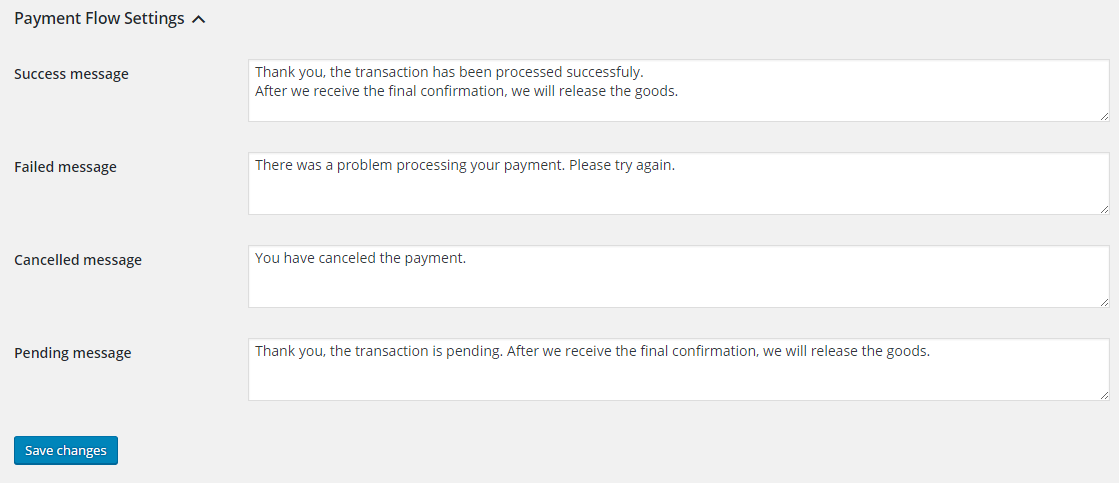
| Nuvei – Payment Flow Settings |
| Field |
Description |
Type |
Sample |
| Success message |
The message that is displayed at the end of the payment flow when the redirection status is a success. You should only deliver the goods/services based on the success notification received at the notification URL which you set up in the GlobalPay merchant dashboard available at: https://dashboardtest.smart2pay.com. The notification URL is in the form: http://www.merchant.com/index.php/globalpay/index/handleResponse. |
String |
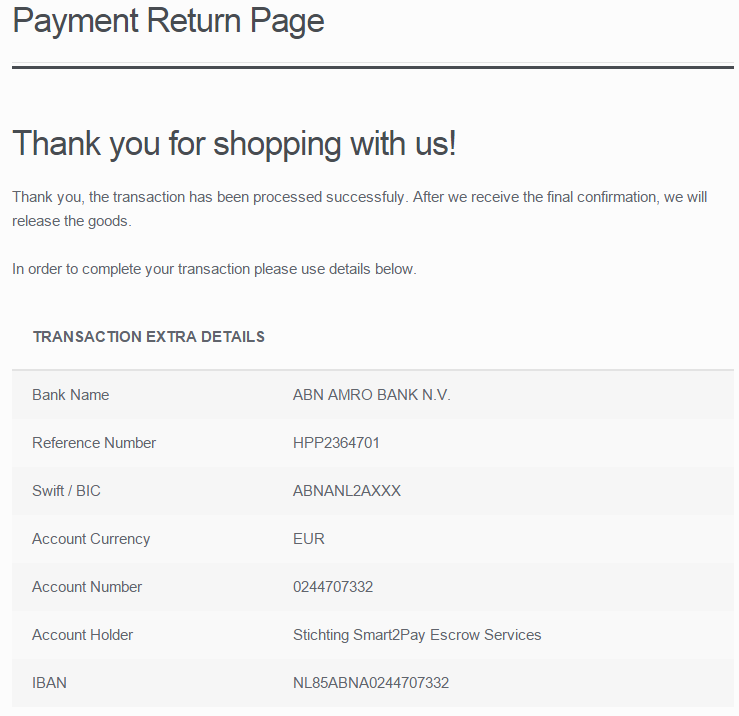
Thank you, the transaction has been processed successfully. After we receive the final confirmation, we will release the goods. |
| Failed message |
The message that is displayed at the end of the payment flow when the customer is redirected with a failed status. |
String |
There was a problem processing your payment. Please try again. |
| Cancelled message |
The message that is displayed at the end of the payment flow when the customer has canceled the payment. |
String |
You have canceled the payment. |
| Pending message |
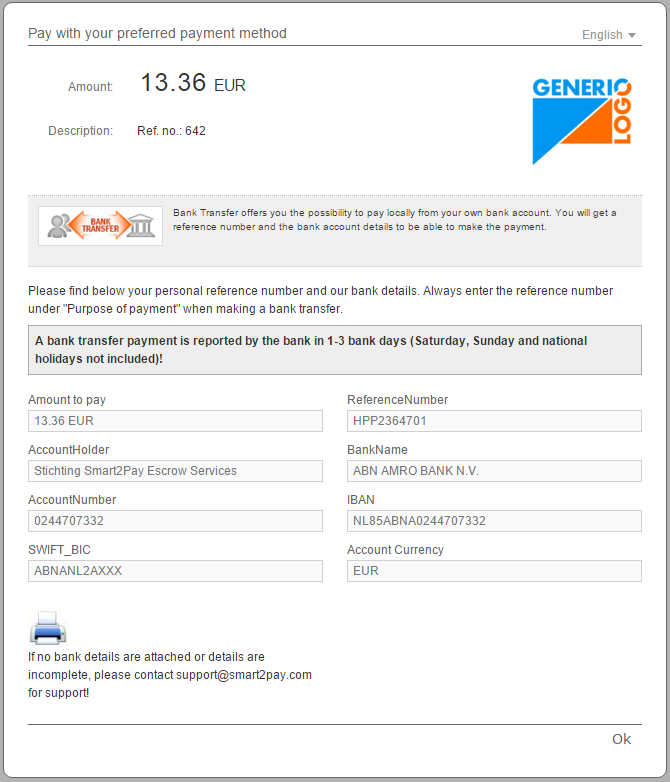
The message that is displayed to the customer when the redirection status is unknown or the customer must take additional actions to complete the payment: e.g. go to the bank and make an offline bank transfer. |
String |
Thank you, the transaction is pending. After we receive the final confirmation, we will release the goods. |
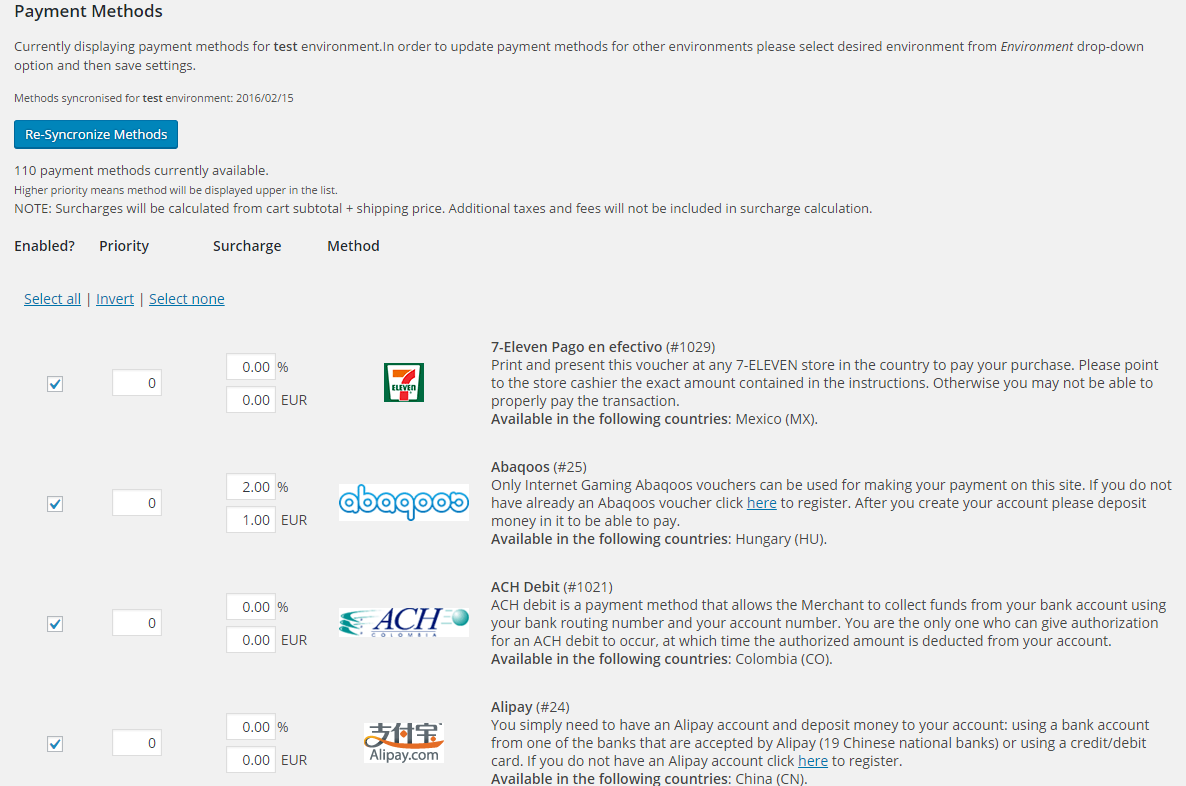
After the main configuration of the Nuvei Payment Module, please activate the payment methods that you plan to use.
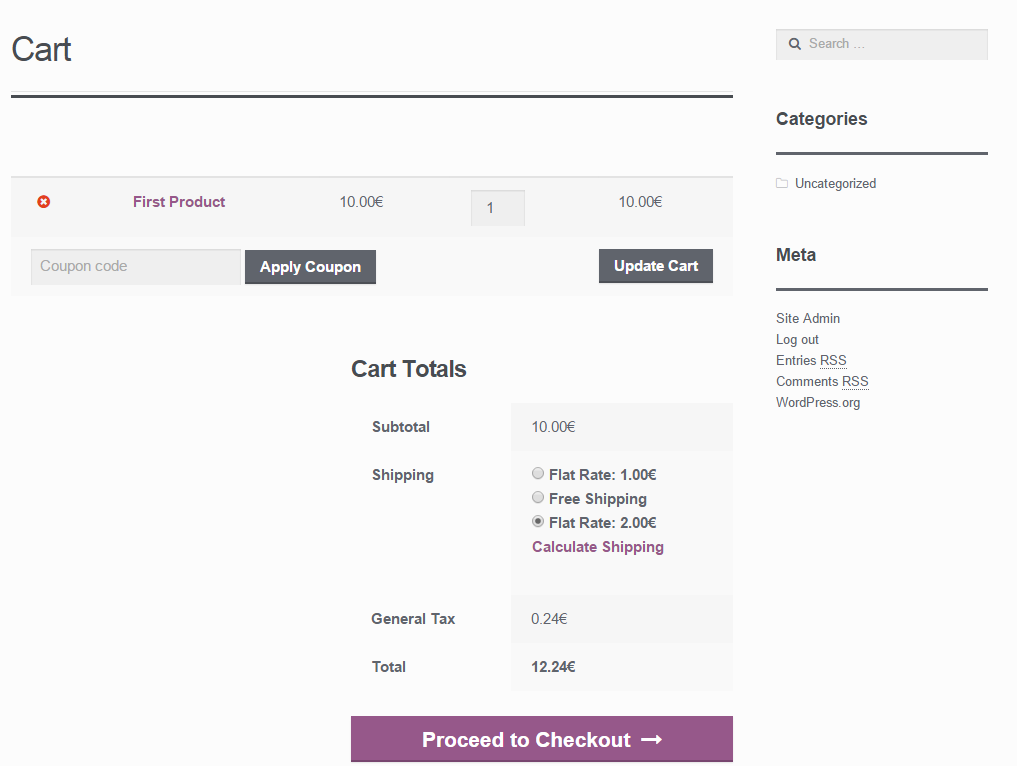
Note: Surcharges will be calculated from cart subtotal + shipping price. Additional taxes and fees will not be included in surcharge calculation.
![]()

