Company Onboarding

Onboarding is the tool that you need in order that the onboarding process to be quick and accurate and to ensure a long-term and successful business partnership. We have developed an intuitive and secure online system that it will allow merchants for an automated and quick onboarding process.

It will only take a little time for you to manage the onboarding process. We have strive to minimize the long and tiresome process during merchant boarding and the ongoing challenges of completing forms and fields while building the merchant’s and company’s profile.

Reset Password

In case you forgot your password or you want to reset it, click on the Forgot your password link form the Sign In form.

Enter your email address and click on the Send Verification Code.

Enter the verification code sent to your email address in the correct field in order to verify it.

After the email address is successfully verified click on the Continue button.

You need to enter a new password and to confirm it. Click on the Continue button in order to complete the sign in process.

You are redirected to the Sign In page, where you enter your email address and the newly updated password.

Company details

The first part that needs to be covered for a successful onboarding at Nuvei is signing up your company! This section provides insights on how to successfully complete the Company Details form. Please keeep in mind, that all the fields are mandatory and we encourage you to give us the necessary information with utmost consideration!

Access the OnBoarding platform by clicking on the Go button from the Company Details form in the Welcome Page.

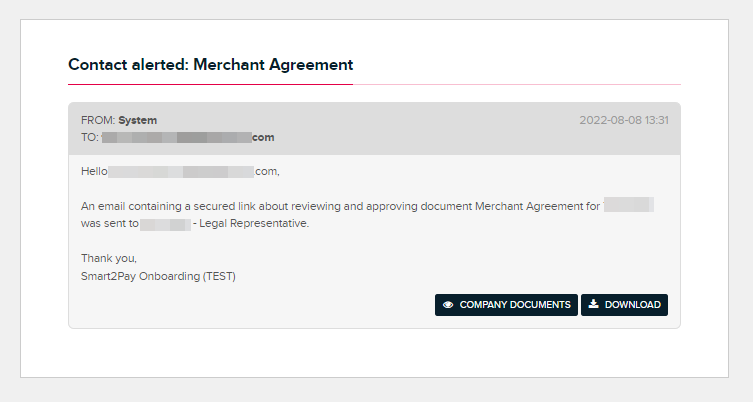
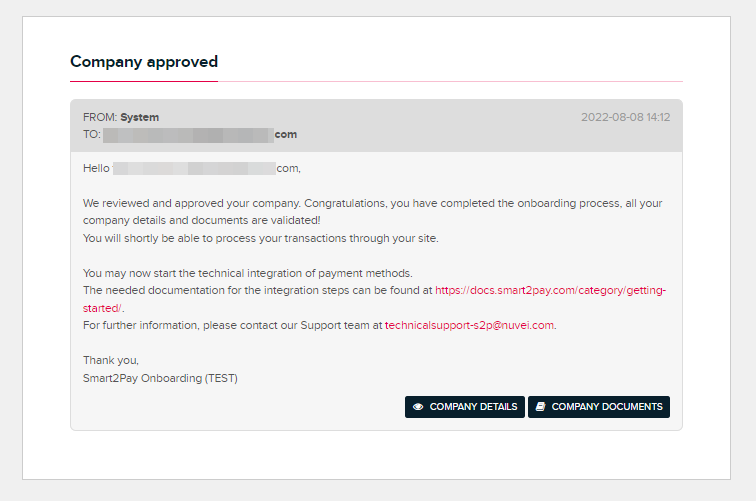
On the OnBoarding platform you will need to provide us with documentation requirements for customer and company, upload necessary company documents, accept the merchant agreement and request the company activation in order for your company to be approved and be ready to takle the live transactions.

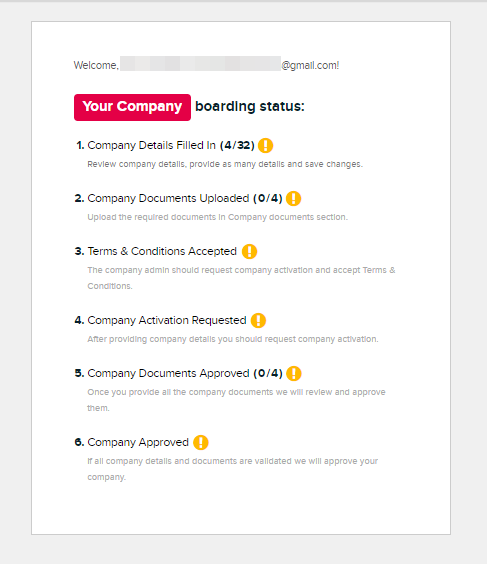
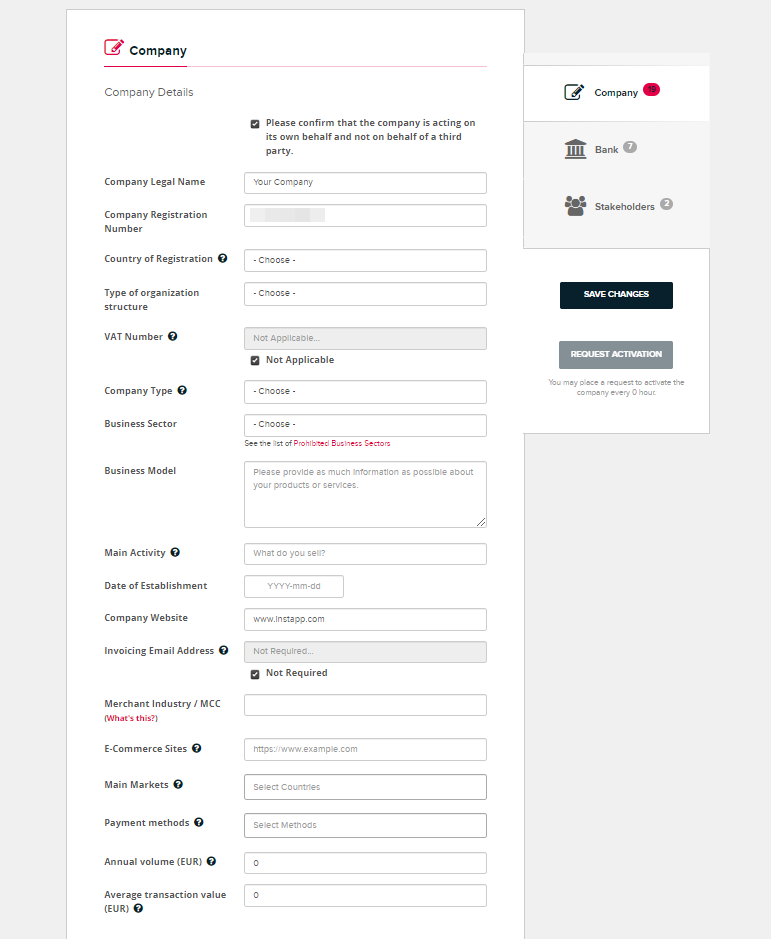
We’ll take step by step in filling all the necessary forms and you have the possibility to always check your boarding status in the Overview tab. Start by filling in the Company details form and provide as many details. Don’t forget to save the changes.

In the Company tab you will need to provide us with documentation requirements for customer and company, like: Company details and address, Company contacts, Company bank details and also Stakeholders information.

In the case that your business isn’t registered for VAT, in the EEC VAT Number filed you will click on the Not Applicable sign.

In order for us to understand and to know more about your business and services, please provide as much information about your products or services in the Business Model field.

If you have more than one website where you want to implement our services, you need to add each one of them by using the ADD ANOTHER SITE 26 button.

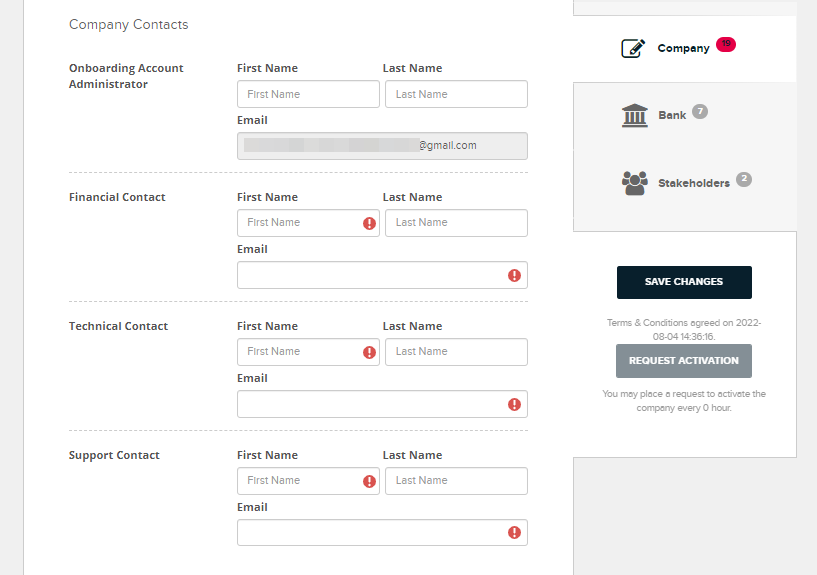
In order to complete the Contact Details form, you will have to choose from one of the roles provided in the form: Financial Contact, Technical Contact or Support Contact, according to your role within the company. Click on the appropriate button and add the desired contact type.

After choosing the specific role within the company, please provide the necessary details by which a person can contact you: first and last name and email address. For a more accurate and efective communication, you can give us more than one company contact.

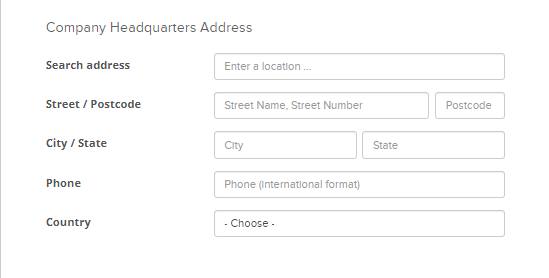
You will also need to provide the current headquarters address for your company, like: Street number, Postcode / Zipcode, City /State, Phone / Fax, and Country of establishment.

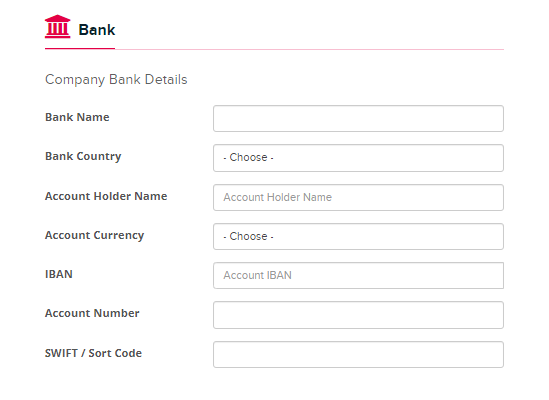
In the Company Bank Details you will have to provide information related to your Bank, like: Bank Name, Account Holder, Account Currency, IBAN, Account Number and SWIFT. In case you dont’t have the complete information, please contact your Bank for a complete answer.

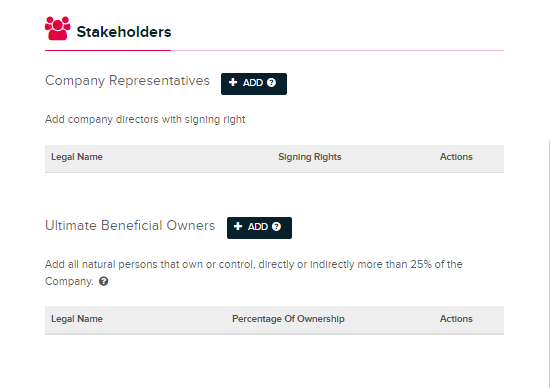
The Stakeholders form must contain details of each Company Representative with signing rights or/and Ultimate Beneficial Owner that owns or controls, directly or indirectly more than 25% of the Company.

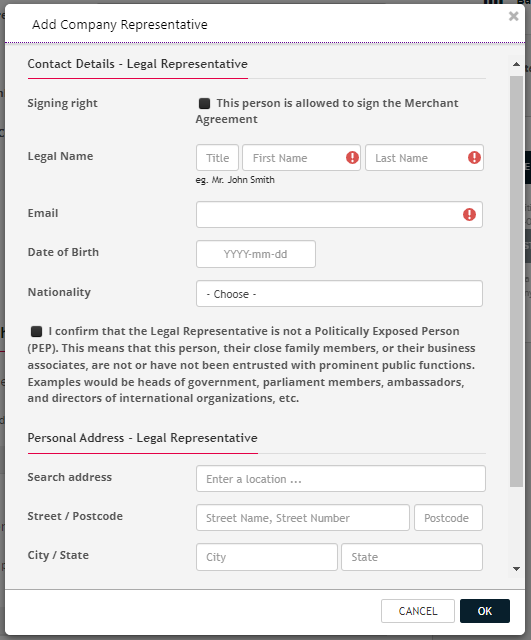
Add a Company representative and fill in the necessary information, like: their signing right (click only if the person has the right to sign all company contracts), Legal Name, Email, Date of Birth, and their complete address. In order to add a new company representative just use the ADD button.

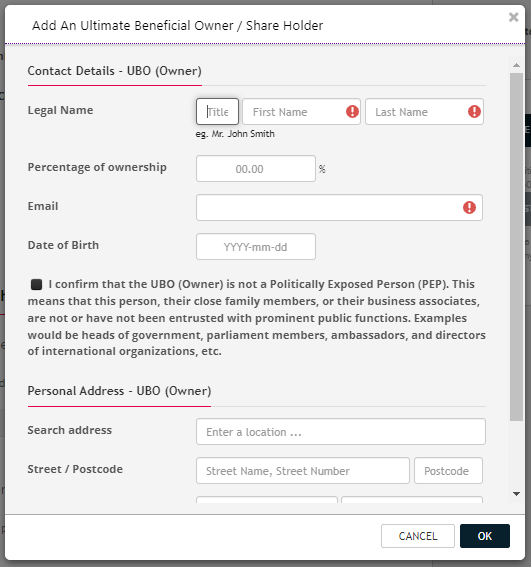
Add an Ultimate Beneficial Owner / Share Holder and fill in the necessary information, like: Legal Name, Email, Percentage of ownership of the company, Date of Birth, and their address. In order to add a new Beneficial Owner / Share Holder just use the ADD button.

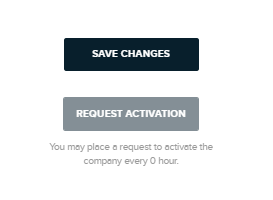
After you have completed all the necessary fields, just click on the Save Changes button and request the company activation. You may place a request to activate the company every 24 hours.

The Request Activation button will only appear if the Company representative form is completed with the necessary information!

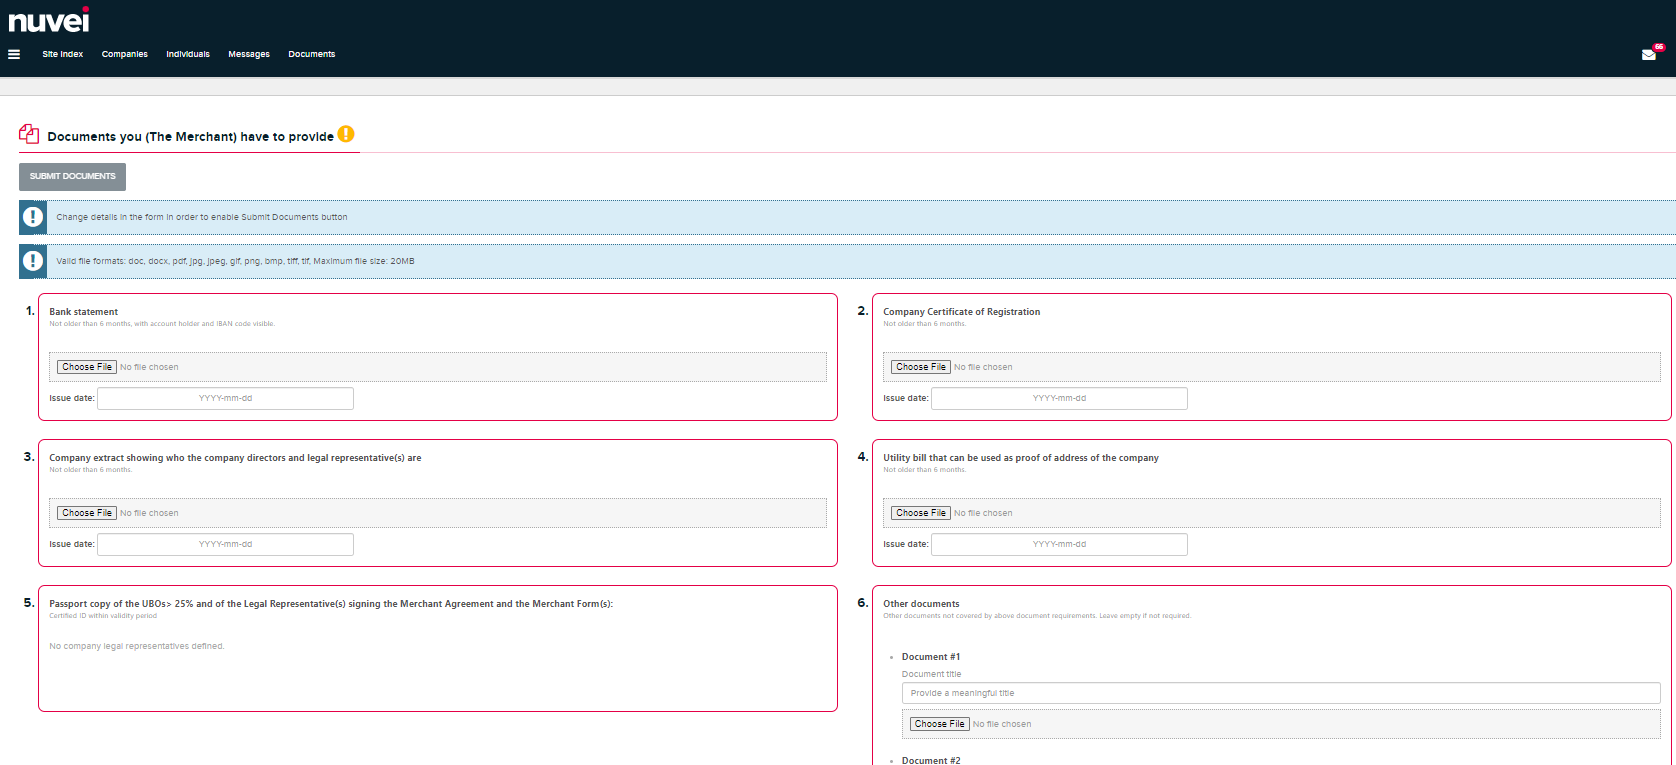
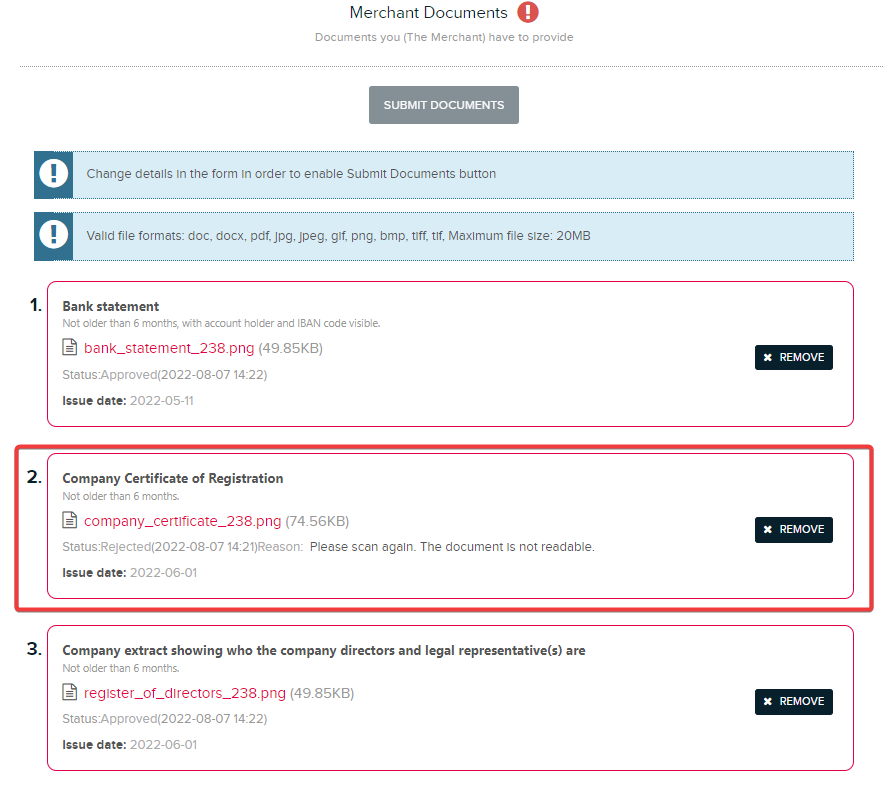
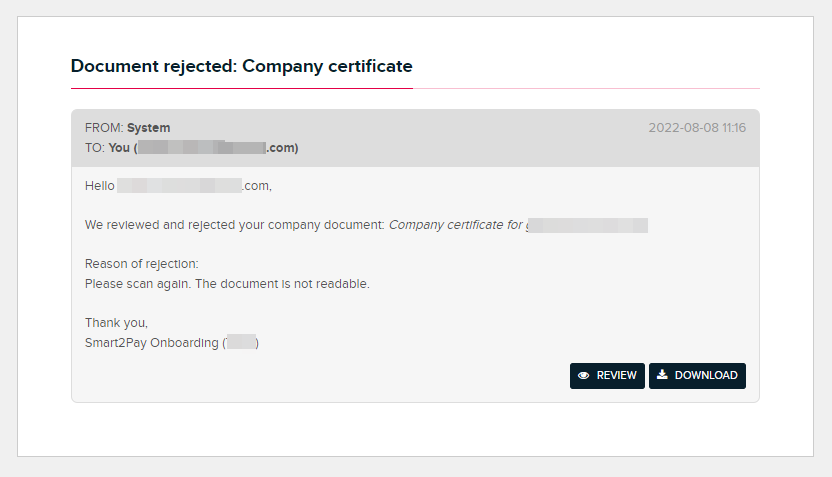
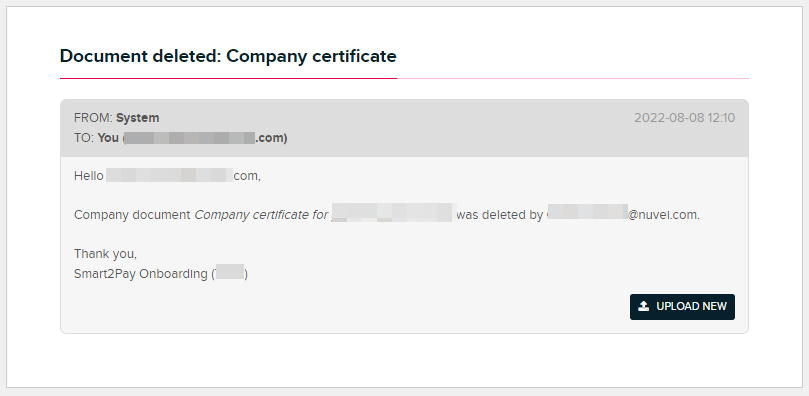
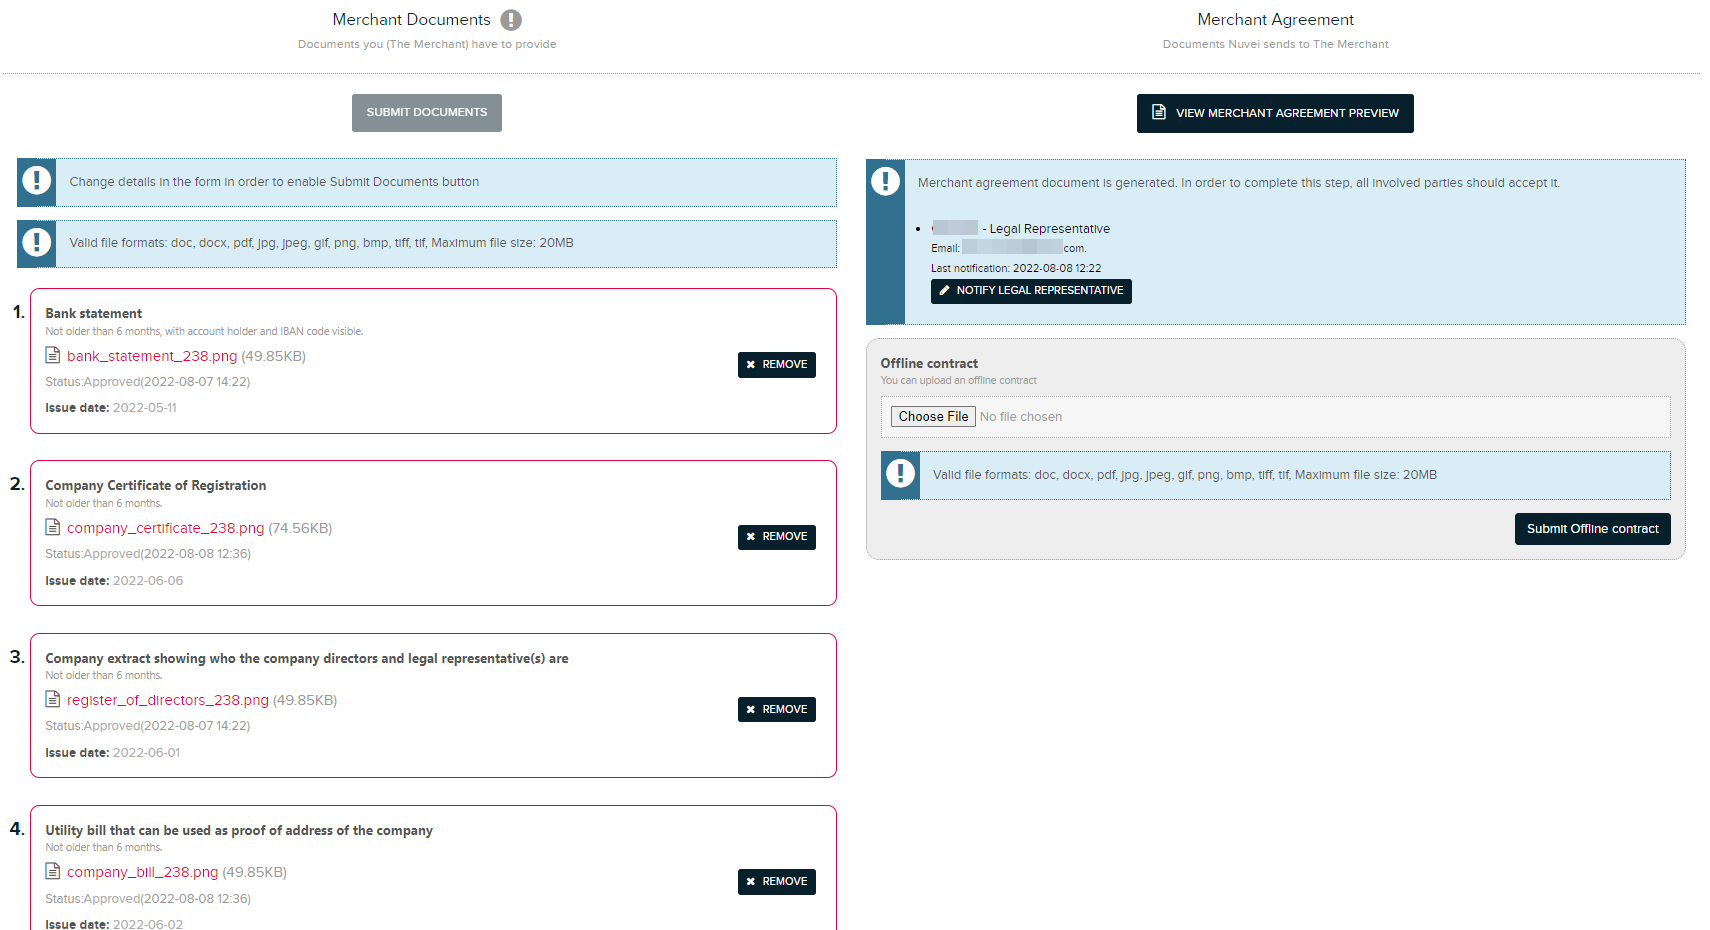
You will now have access to the Company documents where you will have to provide us the relevant official documents.

Company Documents

After you have completed all the necessary details for the company profile, you need to wait for Smart2pay approval of the company. After our team will review and approve your company details and documents, you will receive a confirmation message. Your company will be activated and you may start in completing the technical integration, that will get you closer to a full integration of your site with our platform.

Go to Company documents tab where you will see all the required documents that you need to provide us in order for us to generate your merchant agreement.

The documents that you necessarily need to provide us are the following: Bank statement, Company Certificate of Registration, Company extract showing who the company directors and legal representative(s) are, Utility bill that can be used as proof of address of the company and Passport copy of the UBOs> 25% and of the Legal Representative(s) signing the Merchant Agreement and the Merchant Form(s). In case there are any other documents not covered by the above document requirements, you may upload them at point 6 in the form.

Once you uploaded the documents, you can click on the Submit Documents button and wait for our team to review and approve the documents that you have sent.

If our team, while reviewing your documents, has agreed that you need to provide more information or the information is incomplete or outdated (like: expired passports or proof of address) they will reject your document. The reason will be stated in the form.

You will also receive a rejection message in your Inbox message stating the reason of rejection.

After resolving the issues involved in the rejection of the document, you will have to delete first the document from the Company Documents tab and then you will have to upload the newly modified document.

You will also receive a message in your Inbox message stating which document has been deleted and the person who has deleted the document.

After our team will review and approve the documents that you have sent, the Merchant agreement document is generated, in order to complete this step, all involved parties should accept it. The company representative that has the right to sign all company contracts will be notified via email in order to review and accept the merchant agreement.

You will also receive a message in your Inbox message stating that the company representative that has the right to sign company contracts has been notified via email.


Now that the company and all the documents have been approved and the merchant agreement has been accepted by all parties involved your company, your company will be approved. You will also receive your dashboard credentials and relevant API keys.

Once your company is activated, you may start in completing the technical integration, that will get you closer to a full integration of your site with our platform.

Messages

In the Messages tab from the main menu you can see all your messages received or sent by you and you can send messages to our team concerning the different problems that you encounter.

Through the Messages tab we offer our own messaging framework from within the program, to improve and facilitate the communication between us and our business partners. It is very useful because it displays all your notifications, keeps a track of your messages and you can always see the history of conversations between certain users and our team. Its a simple system to use and understand, it saves time with automated responses but it also manages all the conversations in the Inbox tab.

When you access the Inbox tab, the search Filters section is collapsed. In order to expand it, just click on the Show filters. You can search messages depending on the sender and receiver. Once you enter the desired filters just click on the Filter button.