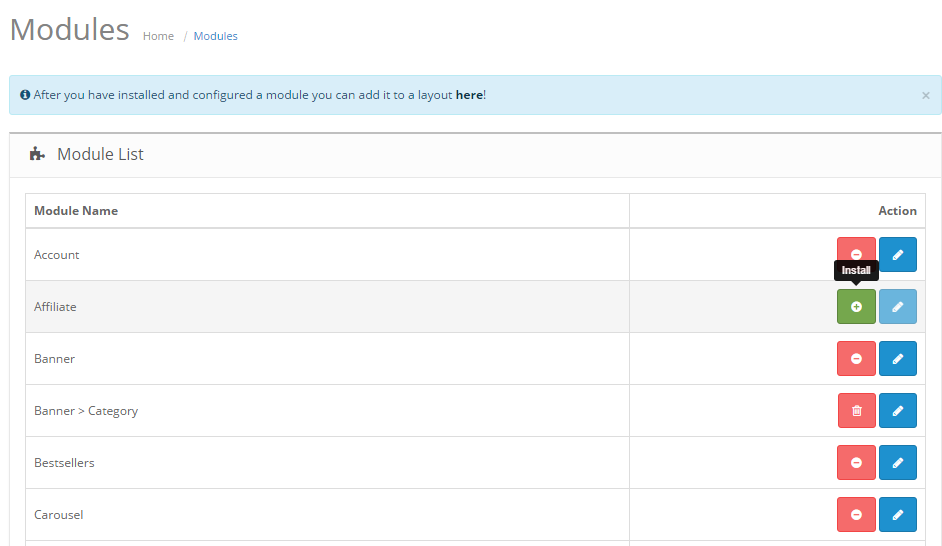
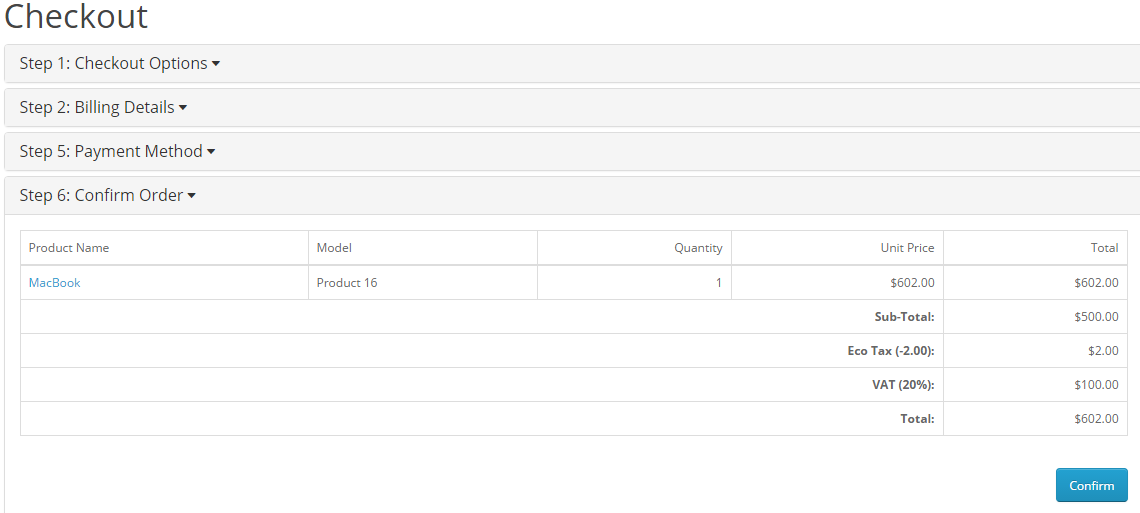
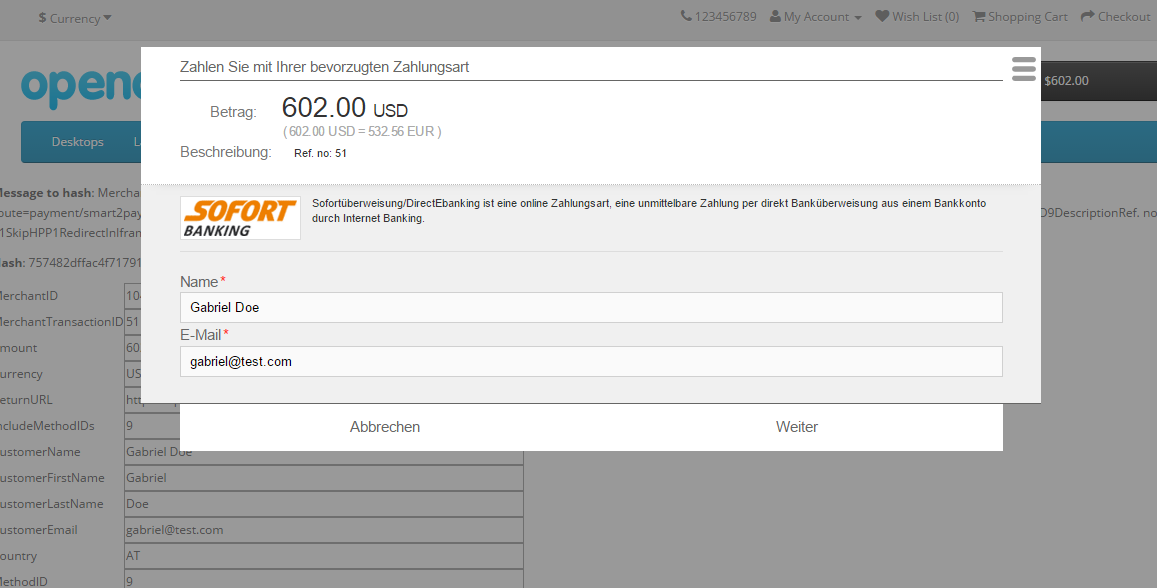
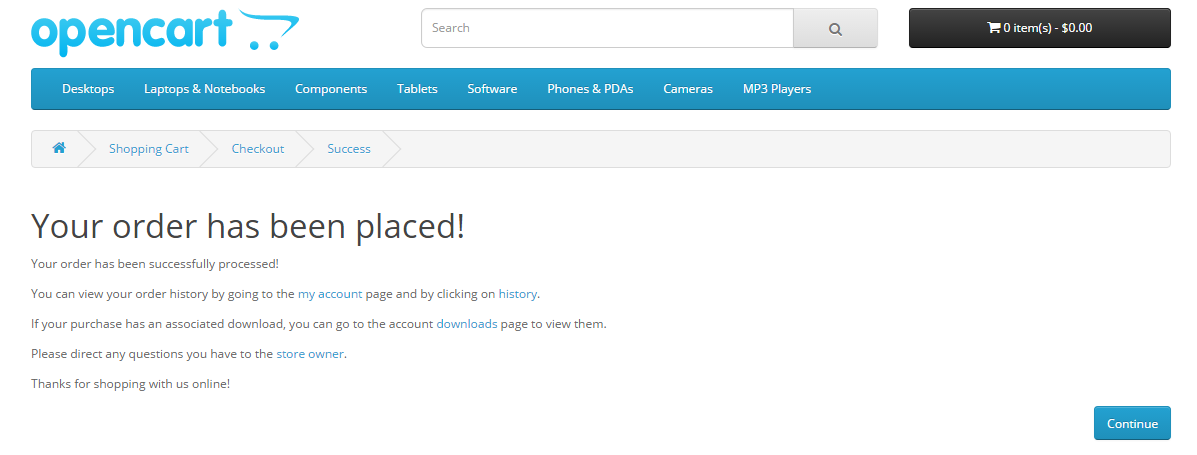
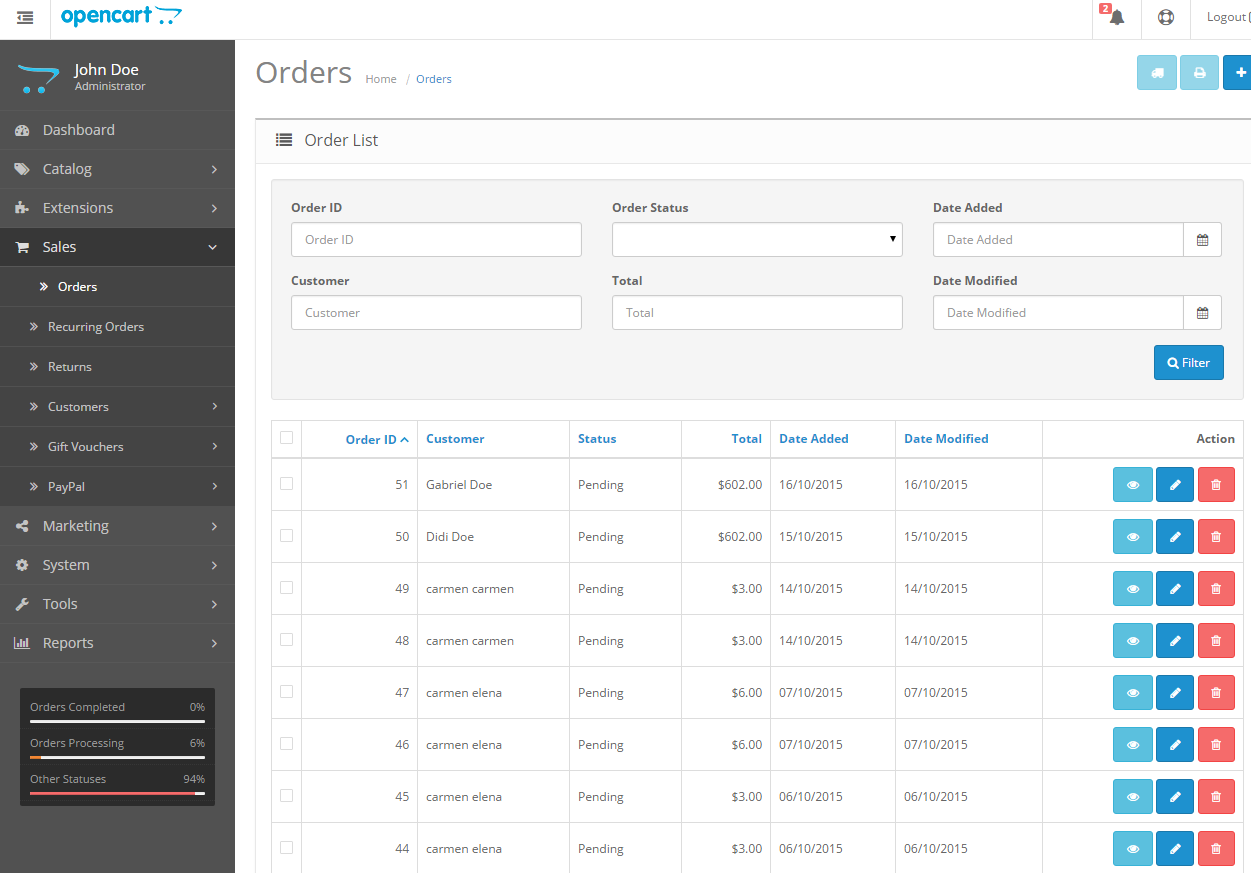
The configurations for the Nuvei OpenCart plugin can be found in the administration area of OpenCart under: Extensions -> Payments menu -> Payment Method section -> Nuvei Payment Module. Once you find the Nuvei plugin click on the Edit button and go to Module Settings, where you can edit the Nuvei plugin, as shown in the below picture.
Smart2Pay plugin contains the generic configurations that are necessary to connect your store with the payment platform. You will also need to install and activate the payment methods that you intend to use: e.g. Nuvei Paysafecard, Nuvei UKash, Nuvei iDEAL etc.
Please make sure that Nuvei module is enabled from Extensions -> Payments menu, Payment Method section -> Nuvei -> Edit (Enabled set to yes).
Checkout below the available options of configuration for the Nuvei OpenCart plugin:
Nuvei Payment Module Configuration
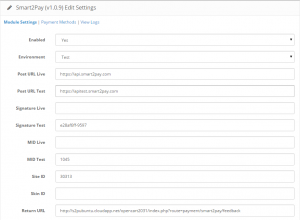
| Field |
Description |
Type |
Sample |
| Enabled |
Defines whether the Nuvei payment module is active or not. If it is active it will appear in the payment method lists. |
Boolean |
Yes |
| Environment |
The environment to which the plugin points to. If Demo is selected you don’t have to provide other MID or signature. If Test is selected then the Post URL Test, Signature Test and MID Test will be used when making the payment. |
[Demo, Test, Live] |
Test |
| Post URL Live |
The URL of GlobalPay API live environment. |
String |
https://api.smart2pay.com |
| Post URL Test |
The URL of GlobalPay API test integration environment. |
String |
https://apitest.smart2pay.com |
| Signature Live |
The signature that will be used to compute the hash for live environment. You can set up your signature at: https://globaldashboard.smart2pay.com, Configuration Tab->Signature for live environment. |
String |
Fb4235ed-xxxx |
| Signature Test |
The signature that will be used to compute the hash for live environment. You can set up your signature at: https://dashboardtest.smart2pay.com for test environment. |
String |
Fb4235ed-xxxx |
| MID Live |
The Merchant ID for the live environment. Create an account from https://globaldashboard.smart2pay.com The account will be activated by Nuvei Operations Team and you will receive an e-mail containing the MID. |
Integer |
1045 |
| MID Test |
The Merchant ID for the test environment. Create an account from https://dashboardtest.smart2pay.com The account will be activated by Nuvei Operations Team and you will receive an e-mail containing the MID. |
Integer |
1045 |
| SiteID |
If you are handling multiple OpenCart websites and you want to use a single MerchantID for all of them, you need to configure multiple websites from GlobalPay Merchant Dashboard, Configuration tab. |
Integer |
40015 |
| Skin ID |
Specify the skin ID. The skins can be created in the Online Skin Editor available in the GlobalPay Merchant Dashboard or by uploading a CSS file. |
Integer |
6 |
| Return URL |
An URL where the customer will be redirected after the payment process ends. It is advisable to include the route payment/smart2pay/feedback action which displays a friendly message to the user depending on the redirection status of the transaction. |
String |
http://www.merchant.com/ index.php?route=payment/smart2pay/feedback |
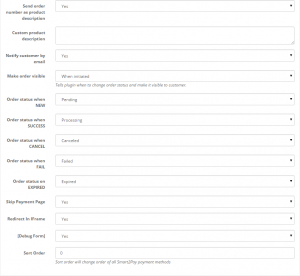
The available options are described in the following table:
| Field |
Description |
Type |
Sample |
| Send order number as product description |
If set to ‘Yes’, the OpenCart order number will be sent as description. If ‘No’ is selected, the below custom description will be sent. |
Boolean |
No |
| Custom product description |
Specifies a global description that will be sent for all the transactions. |
String |
Cinema ticket |
| Notify customer by email |
If set to ‘Yes’, the system automatically sends a confirmation email to the customer on success payment notification. |
Boolean |
Yes |
| Make order visible |
By default, orders are not visible in the orders list. You can control the moment when an order is confirmed and becomes visible by selecting one of the following options:
– When initiated: the order is confirmed and made visible when the customer initiates a payment via Smart2Pay.
– When redirecting to payment page: the order is confirmed and made visible when the customer returns to the ReturnURL.
– When receiving payment notification: the order is confirmed and made visible when the transaction has a final status from: success, failed, cancelled, expired.
– When transaction is paid: the order is confirmed and made visible only when the customer paid and the transaction is confirmed by the payment method provider. |
| Order status when NEW |
The status of the order when a new order is created. |
List |
Pending |
| Order status when SUCCESS |
You should only deliver the goods/services based on the success notifications. The notifications are received at the notification URL which you set up in the GlobalPay merchant dashboard available at: https://dashboardtest.smart2pay.com. The notification URL is in the form: http://www.merchant.com/index.php?route=payment/smart2pay/callback. OpenCart Nuvei GlobalPay Plugin automatically updates the order status according to the received notifications. This configuration defines the status of the order when the payment has been successfully completed and a ‘success’ notification is sent by GlobalPay system. You can release the goods/services in this case. |
List |
Processing |
| Order status when CANCEL |
The status of the order when a ‘canceled’ notification is received from Smart2Pay’s GlobalPay system. |
List |
Canceled |
| Order status when FAIL |
The status of the order when a ‘failed’ notification is received from Smart2Pay’s GlobalPay system. |
List |
Failed |
| Order status on EXPIRED |
The status of the order when an ‘expired’ notification is received from Smart2Pay’s GlobalPay system. |
List |
Expired |
| Skip Payment Page |
If set to ‘Yes’, if all the necessary parameters are sent in the initial POST for a specific payment method, the GlobalPay payment page is skipped and the customer is redirected automatically to the payment method provider. |
Boolean |
Yes |
| Redirect in Iframe |
If set to ‘Yes’, GlobalPay will try to keep the payment flow inside the Iframe. Only some payment methods providers support Iframes, for the others the customer will be redirected to the provider in the main window. |
Boolean |
No |
| [Debug form] |
For integration/debugging purposes only. If set to ‘Yes’, a form with the values sent in the initial POST to GlobalPay will be displayed prior to the actual POST. |
Boolean |
No |
| Sort Order |
Sort order will change order of all Nuvei payment methods. |
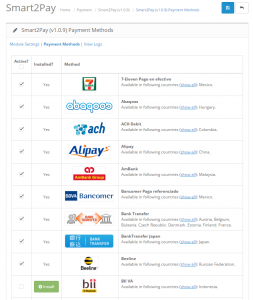
After saving the main configuration, please go to Payment Methods to activate the payment methods that you plan to use.
The following message will appear:

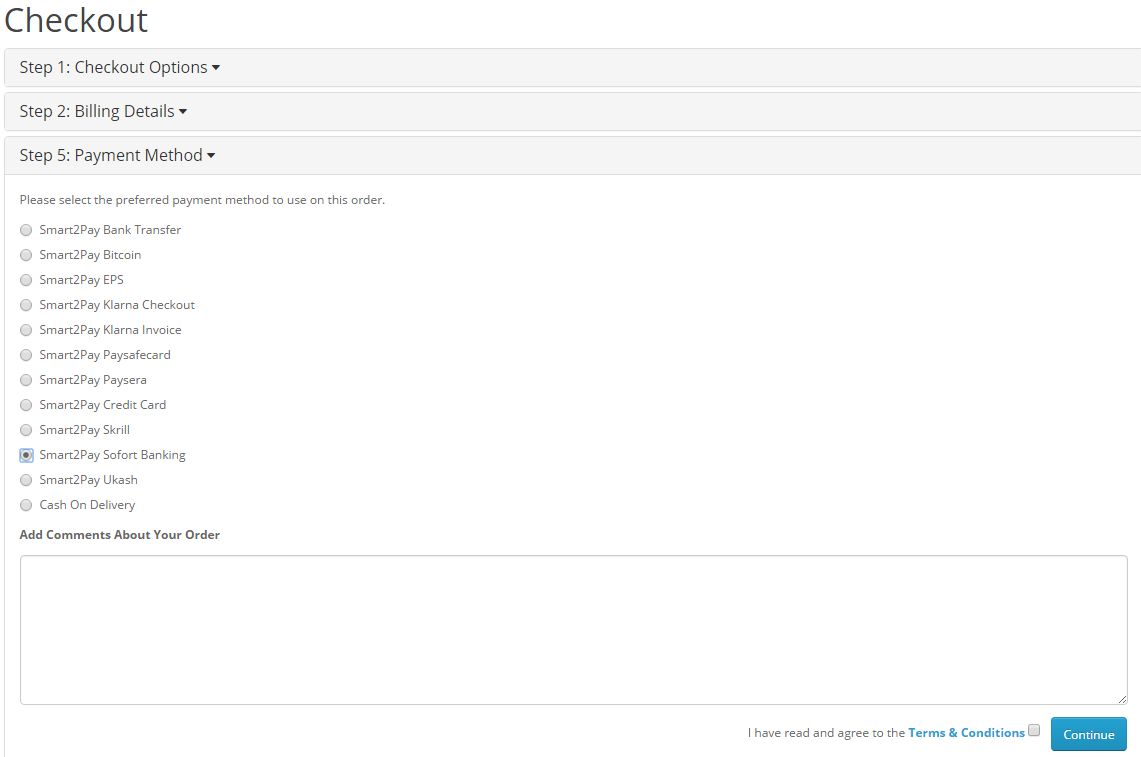
A list of all Nuvei payment methods will appear, making it easier for you to see all the payment methods. From here you can install and activate the payment method that you wish.
![]()

