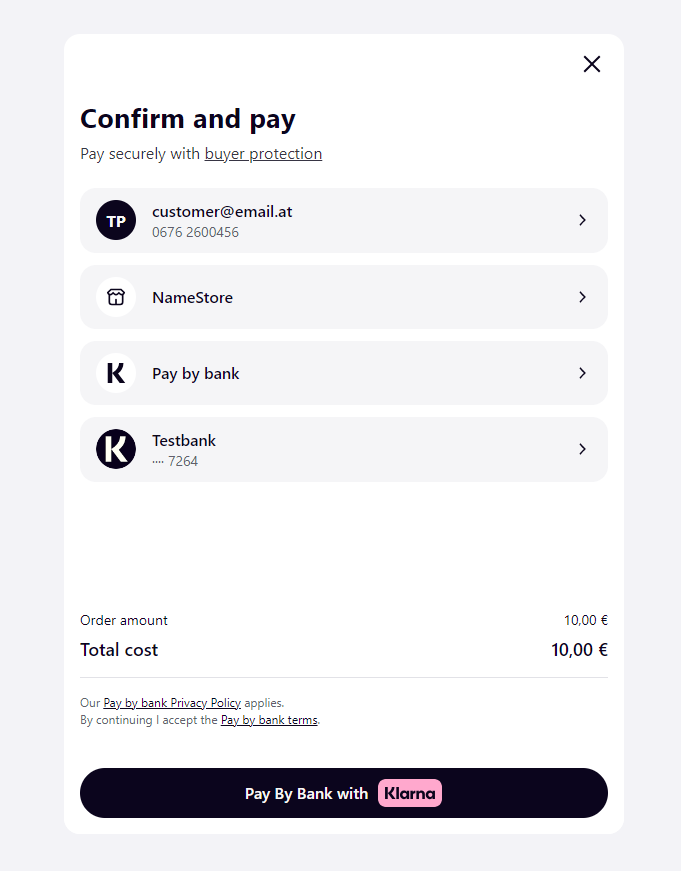
Below you can find an example of a standard Klarna flow.
This is a standard payment flow where the customer selected Austria country. For test purposes, please use the test data provided here: Klarna Payments Test Data.
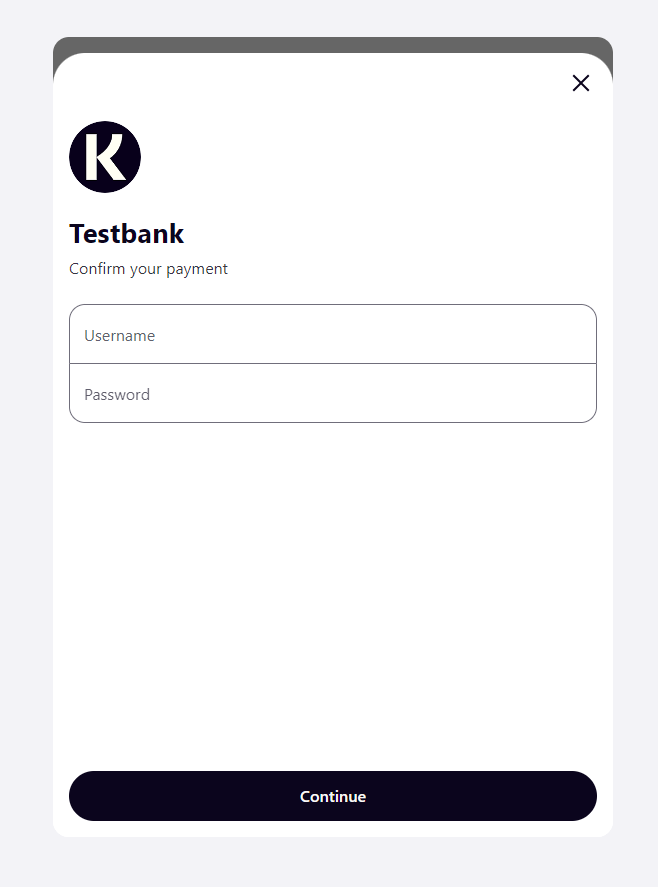
After the customer fills in the form with his personal details, he will be redirected to Klarna’s page where he selects the preferred payment period.
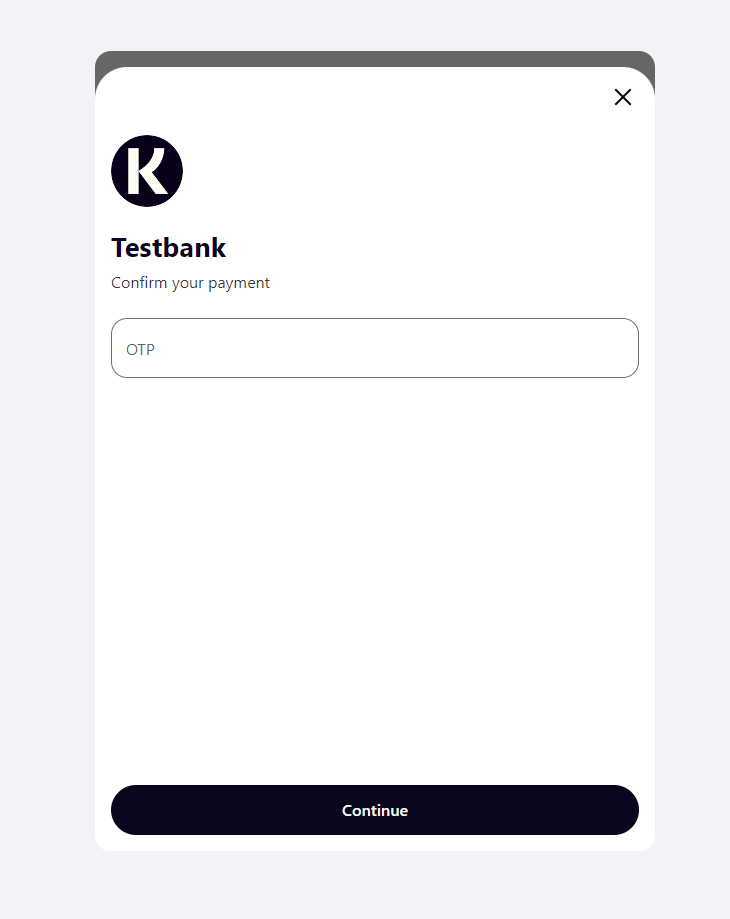
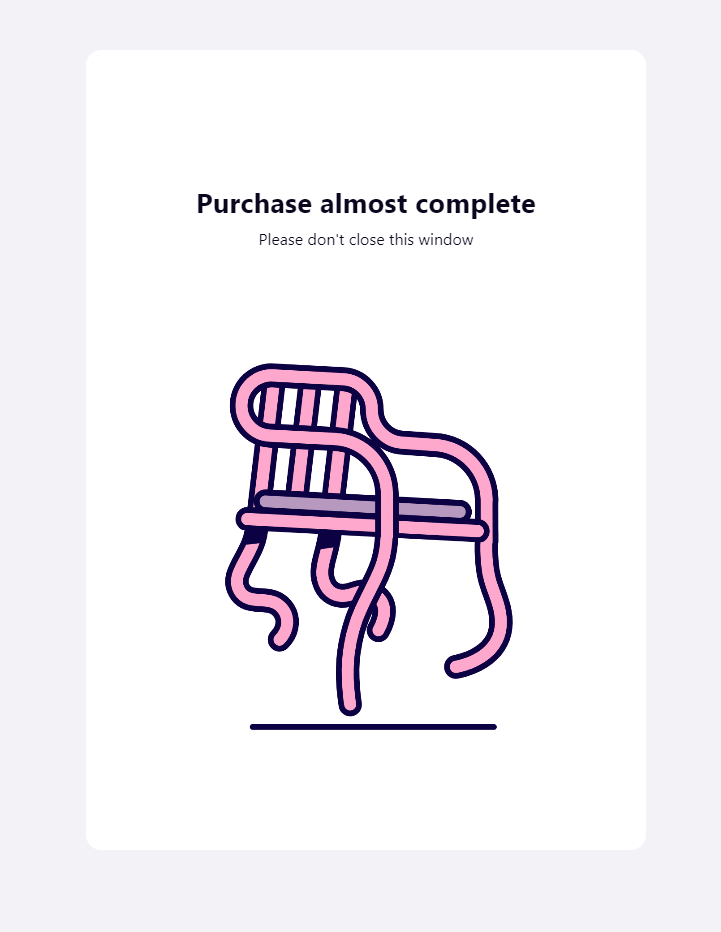
Once the OTP code is confirmed, an intermediary processing page is displayed, followed by transaction confirmation.
onsite
CashApp
To successfully test the CashApp payment method, you need to have a smartphone with a valid QR code reader that allows for completion of a Web based flow. If you are sending a mobile request for testing purposes, the provided mobile playground will only ask for approval or denial of the payment initiation without the need of using such a device. The payment method supports either direct capture or an authorization-capture flow; this applies to both Web or Mobile initiated payments.
Note that requests are subjected to amount limits checks.
CashApp Payment Flow
In order to initiate a payment, the customer must provide the below mandatory details: Amount, Currency and Country.
CashApp Web Payment Flow
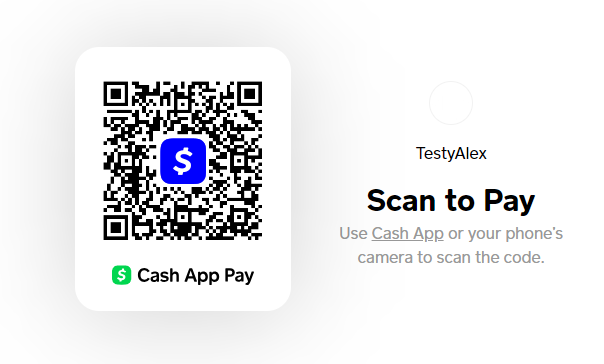
The client is redirected to the payment page where they are presented with a QR code that must be scanned using the smartphone QR camera reader.
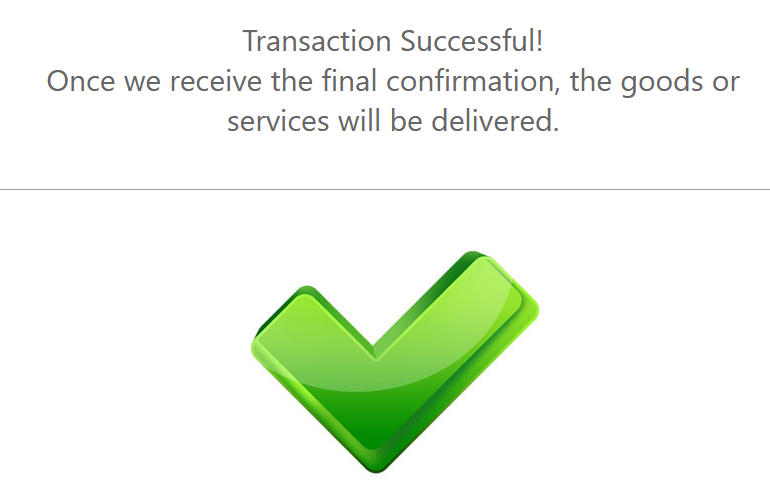
After scanning the QR code, a new payment menu page will pop-up on the smartphone, providing 2 payment actions: Approve or Decline. If the client chooses to press Approve, the transaction is considered to be either Authorized or Success, depending on the settings made to the payment flow.
After which they are redirected to the Success ReturnURL.
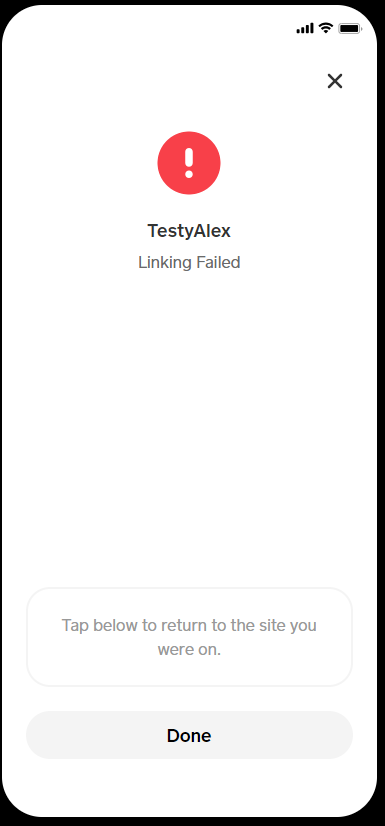
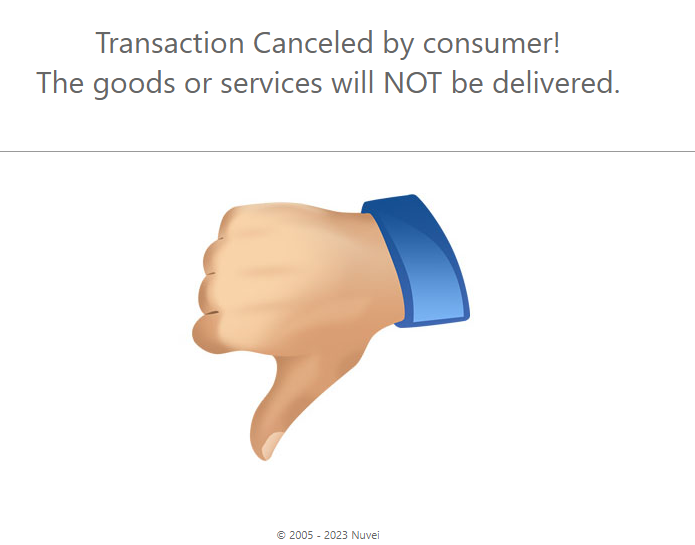
If the client presses Decline, the transaction is Cancelled and has it’s status updated to Cancel.
After which they are redirected to the Cancel ReturnURL.
CashApp Web Payment Flow
Similar to the first flow, the client is redirected to the payment page, however, they are directly presented with the Approve or Decline options. The actions that can be taken by the client are the same as the aforementioned Web flow.
For both Web and Mobile flow, full and single partial Captures are supported; no multiple partial Captures are allowed by the provider.
Clearpay Test data
To successfully test the Clearpay payment method, an active account must be registered with the provider, containing a valid email address. Note that requests are subjected to amount limits checks. The payment method supports either direct capture or an authorization-capture flow.
Clearpay Payment Flow
In order to initiate a payment, the customer must provide the below mandatory details: First and last name, Email, Phone, Billing Address (street, city, zip code, state, country) and then press Continue.
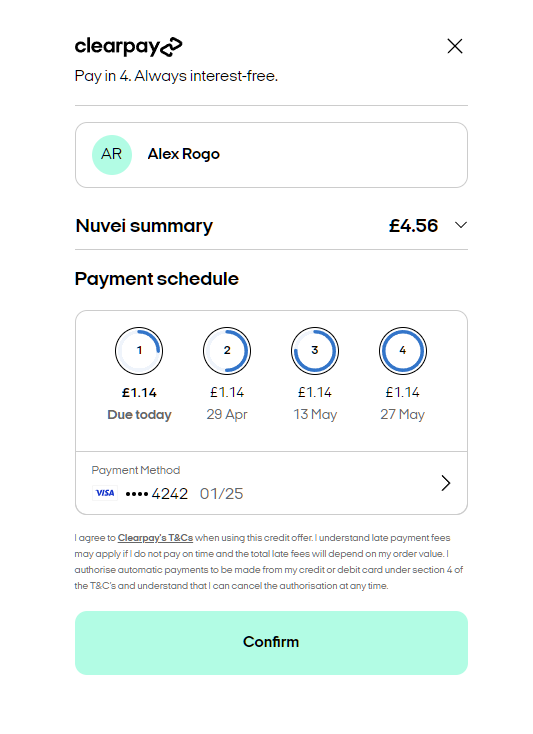
The client is then redirected to the provider payment page where they are presented with the payment schedule.
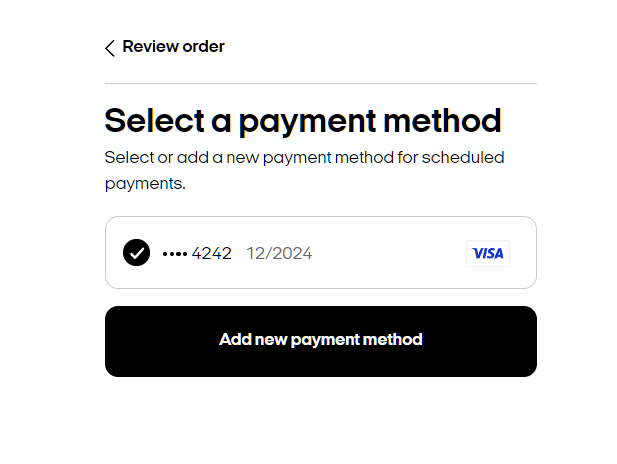
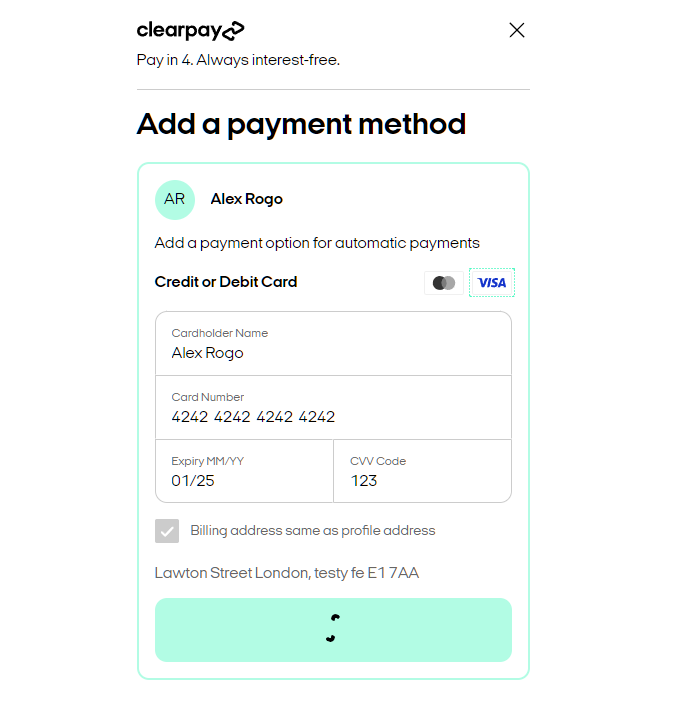
Here, they can press on the Payment Method tab and add a new card that will be saved for future purchases.
If testing for payment completion, please insert the below card and CVV: Card Number: 4242 4242 4242 4242; Expiry date: must be in the future; CVV: 123;
Once done, the Confirm button must be pressed.
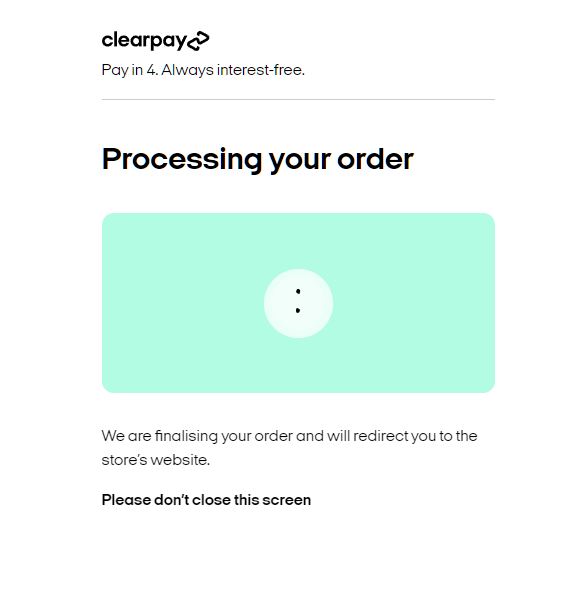
Upon completion of the payment flow, the customer is shown the provider’s processing page.
After which they are redirected to your ReturnURL.
Depending on your Capture settings, after the client finished all the necessary steps, the payment can have its status set to either Success (with the automatic capture option enabled) or Authorized. If the later status is shown for a particular transaction, a Capture time frame is active for 13 days. If this time period expires, the payment is automatically cancelled and refunded by the provider and no further Capture action can be performed on that particular Authorization order.
Afterpay Test data
To successfully test the Afterpay payment method, an active account must be registered with the provider: it must have a valid email address and its usage is limited to one country. Note that requests are subjected to amount limits checks. The payment method supports either direct capture or an authorization-capture flow.
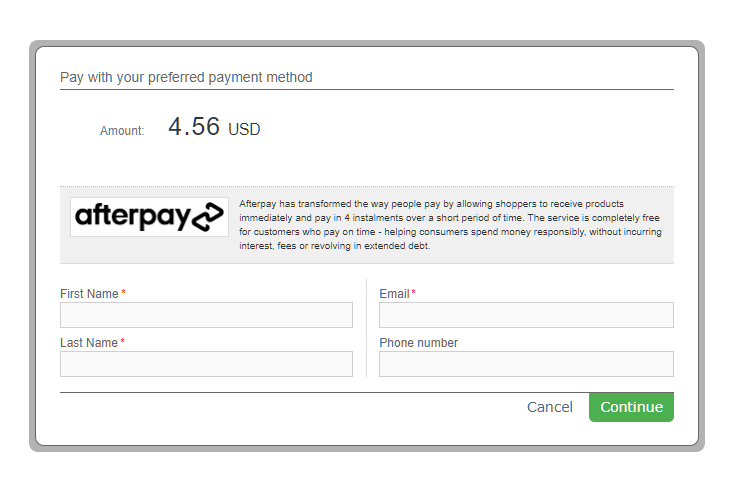
Afterpay Payment Flow
In order to initiate a payment, the customer must provide the below mandatory details: First and last name, Email, Phone, Billing Address (street, city, zip code, state, country) and then press Continue. If no client details are sent, our intermediary page is displayed, in order to collect the necessary data:
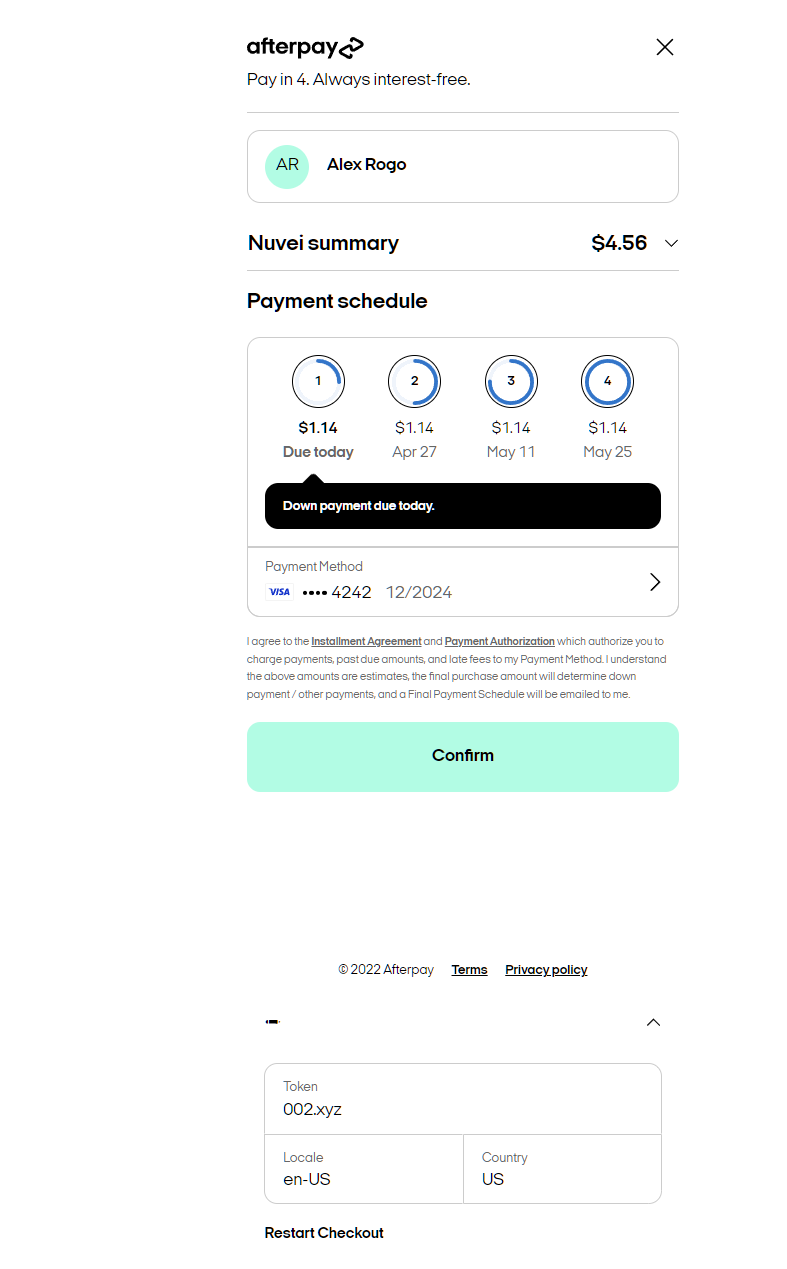
The client is then redirected to the payment page where they are presented with the payment schedule.
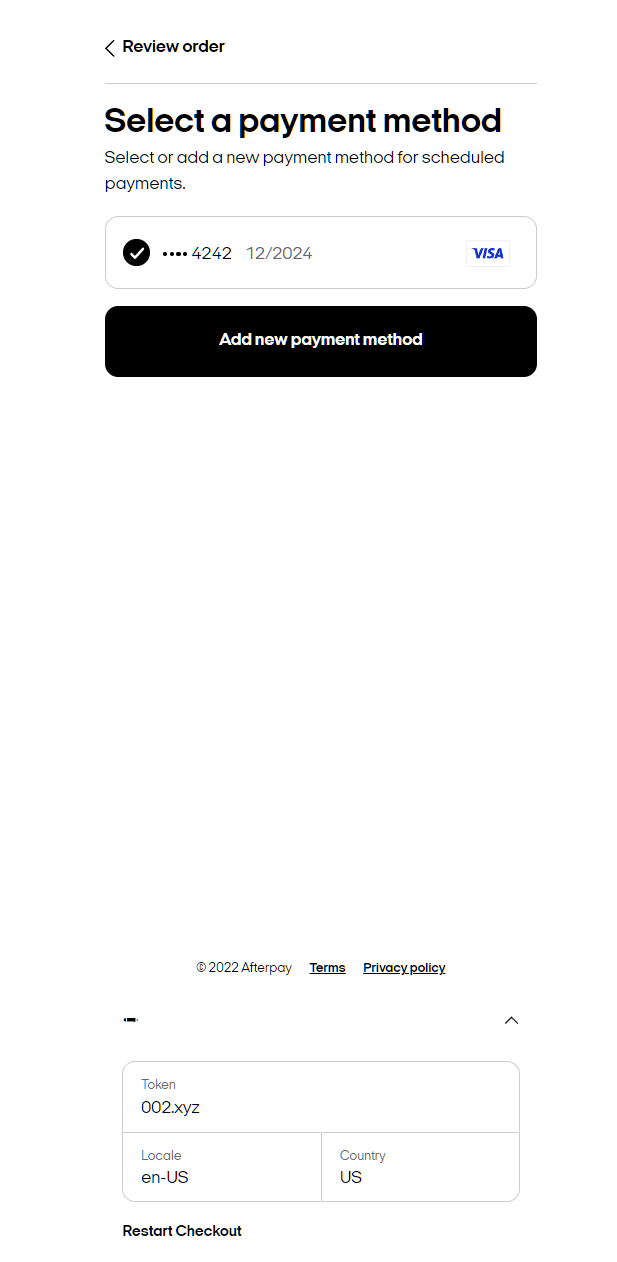
Here, they can press on the Payment Method tab and add a new card that will be saved for future purchases.
If testing for payment completion, please insert the below card and CVV(s): Card Number: 4111 1111 1111 1111; Expiry date: must be in the future; CVV: 000 for an approved capture; CVV: 051 for a declined capture.
Once done, the Confirm button must be pressed.
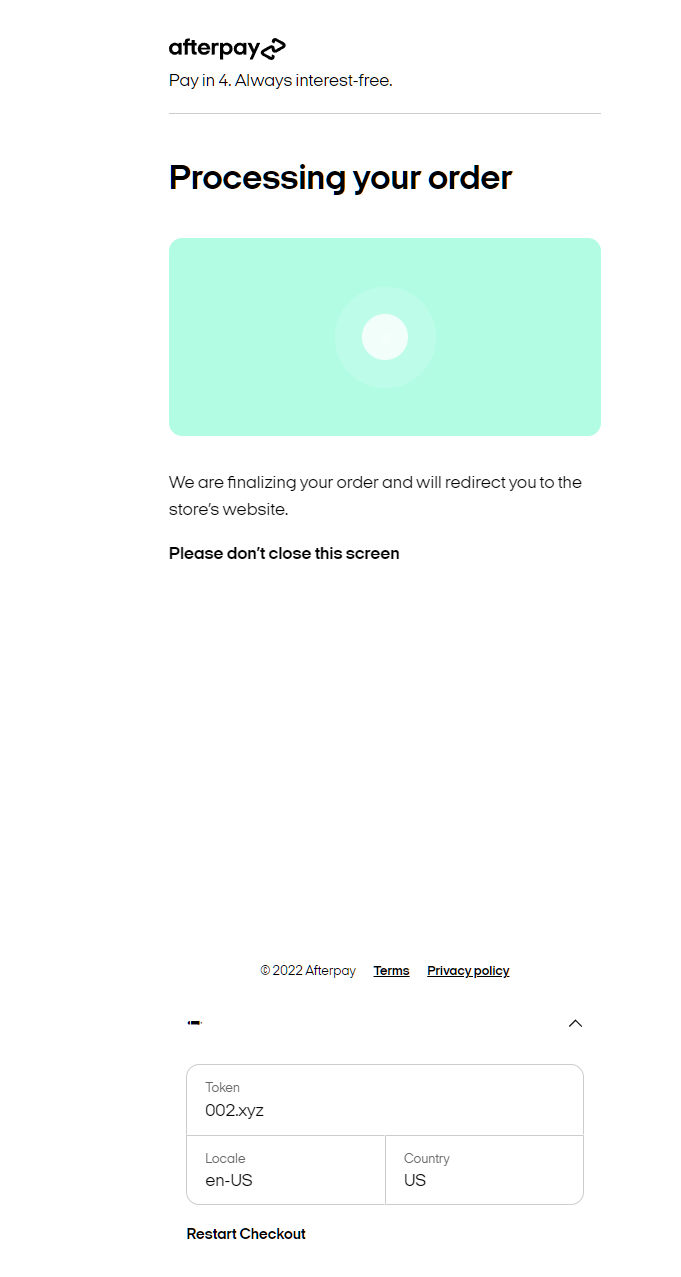
Upon completion of the payment flow, the customer is shown the provider’s processing page.
After which they are redirected to your ReturnURL.
Depending on your Capture settings, after the client finished all the necessary steps, the payment can have its status set to either Success (with the automatic capture option enabled) or Authorized. If the later status is shown for a particular transaction, a Capture time frame is active for 13 days. If this time period expires, the payment is automatically cancelled and refunded by the provider and no further Capture action can be performed on that particular Authorization order.
NetBanking Test Data
In order for you to test NetBanking payment method successfully, you don’t need any given test data. Note, however, that requests are subjected to amount limits checks.
NetBanking Payment Flow
In order to initiate a payment, the customer must insert the below mandatory details:
First and last name, Email, Phone, Address (street, city, zip code, state) and then press Continue.
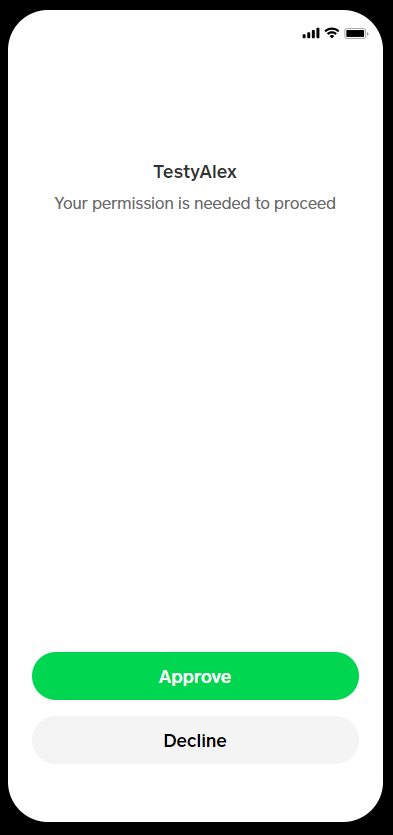
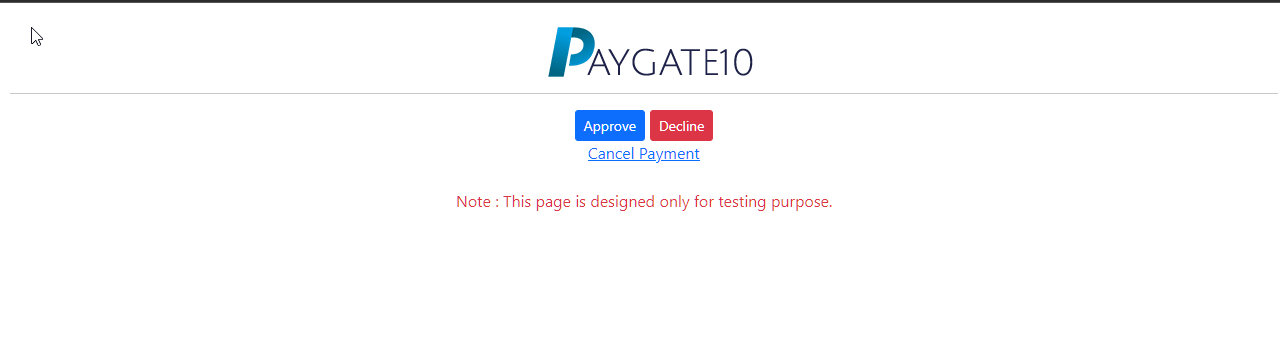
The customer will be redirected to the payment page where he has to choose either of the presented options: Approve for successful transaction completion; Decline in order to reject the payment and Cancel for transaction cancellation .
Upon completion of the payment flow, the customer is redirected back to your ReturnURL.
UPI Test data
In order for you to test UPI payment method successfully, you don’t need any given test data. Note, however, that requests are subjected to amount limits checks.
UPI Payment Flow
In order to initiate a payment, the customer must insert the below mandatory details:
First and last name, Email, Phone, Address (street, city, zip code, state) and then press Continue.
The customer will be redirected to the payment page where he has to choose either of the presented options: Approve for successful transaction completion; Decline in order to reject the payment and Cancel for transaction cancellation .
Upon completion of the payment flow, the customer is redirected back to your ReturnURL.